
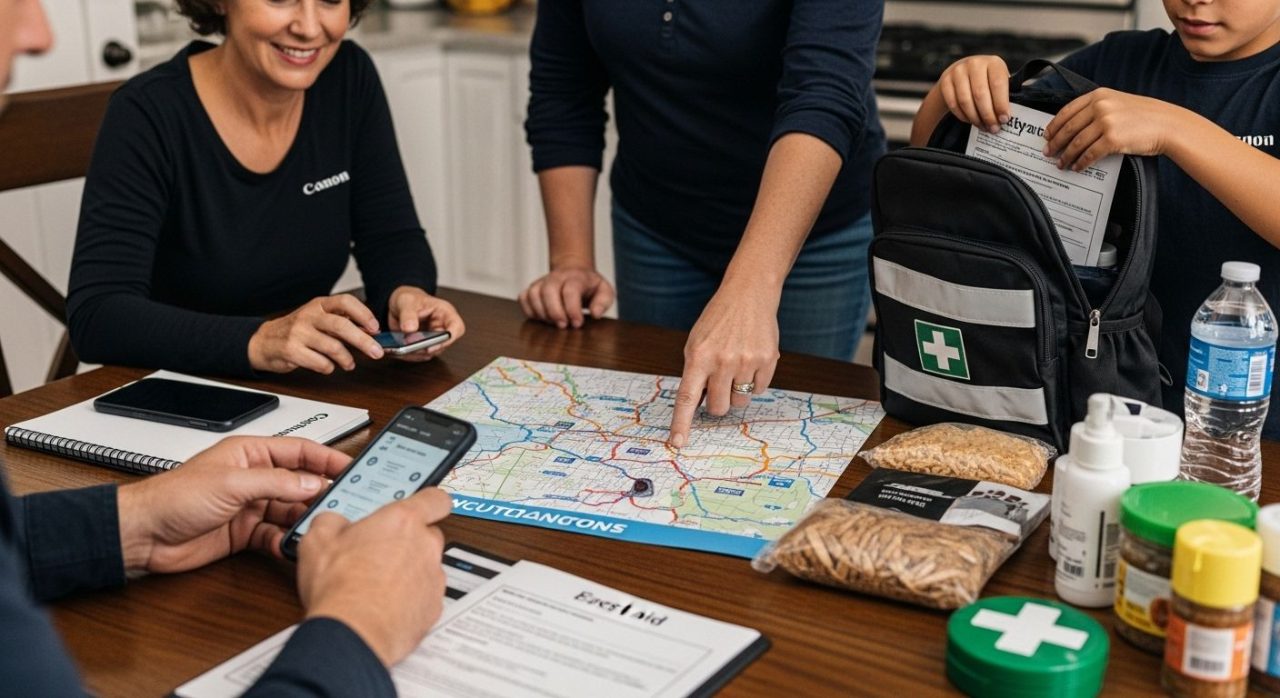
Disaster strikes when you least expect it and can leave even the best-prepared families scrambling for solutions. The speed of chaos can feel overwhelming but over 60 percent of Americans do not have a basic emergency plan in place. Most people focus on what to do during a disaster but the real difference is made in the days right after. Those first steps determine who bounces back fastest.
Table of Contents
- Step 1: Prepare An Emergency Response Plan
- Step 2: Assess Your Immediate Needs
- Step 3: Communicate With Relief Organizations
- Step 4: Document Damage For Insurance Claims
- Step 5: Implement Recovery And Restoration Efforts
- Step 6: Verify Safety And Stability Post-Recovery
Quick Summary
| Key Point | Explanation |
|---|---|
| 1. Develop an Emergency Response Plan | Assess risks specific to your area and create a plan with clear protocols, including contacts and evacuation routes. |
| 2. Assess Immediate Needs Post-Disaster | Conduct a damage assessment and prioritize basic needs like food, water, and shelter for effective recovery. |
| 3. Communicate with Relief Organizations | Identify relief agencies and maintain organized communication to access crucial support and resources during recovery. |
| 4. Document Damage for Insurance Claims | Gather visual and written evidence of damage to support insurance claims and expedite the financial recovery process. |
| 5. Ensure Safety and Stability After Restoration | Engage professionals to verify structural safety, conduct environmental testing, and establish ongoing monitoring for future protection. |
Step 1: Prepare an Emergency Response Plan
Preparing an emergency response plan is your critical first line of defense when disaster strikes. This strategic blueprint serves as a comprehensive roadmap that guides you and your family through potentially chaotic and high-stress scenarios, transforming uncertainty into coordinated action. The goal is to create a detailed, actionable strategy that minimizes panic and maximizes your ability to respond effectively.
Your emergency response plan must begin with a thorough assessment of potential risks specific to your geographic location and personal circumstances. Consider natural disasters prevalent in your region such as hurricanes, earthquakes, floods, or wildfires. Understanding these potential threats allows you to craft a targeted plan that addresses unique environmental challenges. Learn more about crafting emergency protocols to ensure comprehensive preparedness.
Developing your plan requires carefully documenting critical information and establishing clear communication channels. Start by creating a centralized document that includes emergency contact numbers for family members, local authorities, insurance providers, and critical support services. Include medical information such as allergies, prescriptions, and health conditions for each family member. Designate an out-of-area emergency contact who can serve as a communication hub if local networks become overwhelmed.
Next, design multiple evacuation routes from your home and workplace. Map out primary and alternative paths, considering potential road closures or infrastructure damage. Practice these routes with your family, ensuring everyone understands the plan and can navigate them confidently under stress. Establish predetermined meeting locations both near your neighborhood and in a safer region outside your immediate area.
Finally, assemble a comprehensive emergency kit that sustains your family for at least 72 hours. Your kit should include essential supplies: non-perishable food, water, first aid materials, prescription medications, battery-powered communication devices, extra clothing, important documents in waterproof containers, and basic survival tools. Store this kit in an easily accessible location known to all family members, and review and update its contents every six months to ensure continued readiness.
Below is a checklist table summarizing the key items to include in an emergency kit to ensure your family is prepared for at least 72 hours.
| Item | Purpose | Notes |
|---|---|---|
| Non-perishable food | Provides sustenance | Enough for 72 hours per person |
| Water | Hydration | Minimum 1 gallon per person per day |
| First aid materials | Treats minor injuries and illnesses | Include personal medications |
| Prescription medications | Maintains necessary health treatments | Store with instructions in original packaging |
| Battery-powered communication devices | Access to news and emergency alerts | Extra batteries recommended |
| Extra clothing | Maintains warmth and comfort | Include sturdy shoes and weather-appropriate gear |
| Important documents in waterproof containers | Ensures access to IDs and critical records | Includes insurance, IDs, medical records |
| Basic survival tools | Supports safety and problem-solving | Examples: flashlight, multi-tool, whistle |
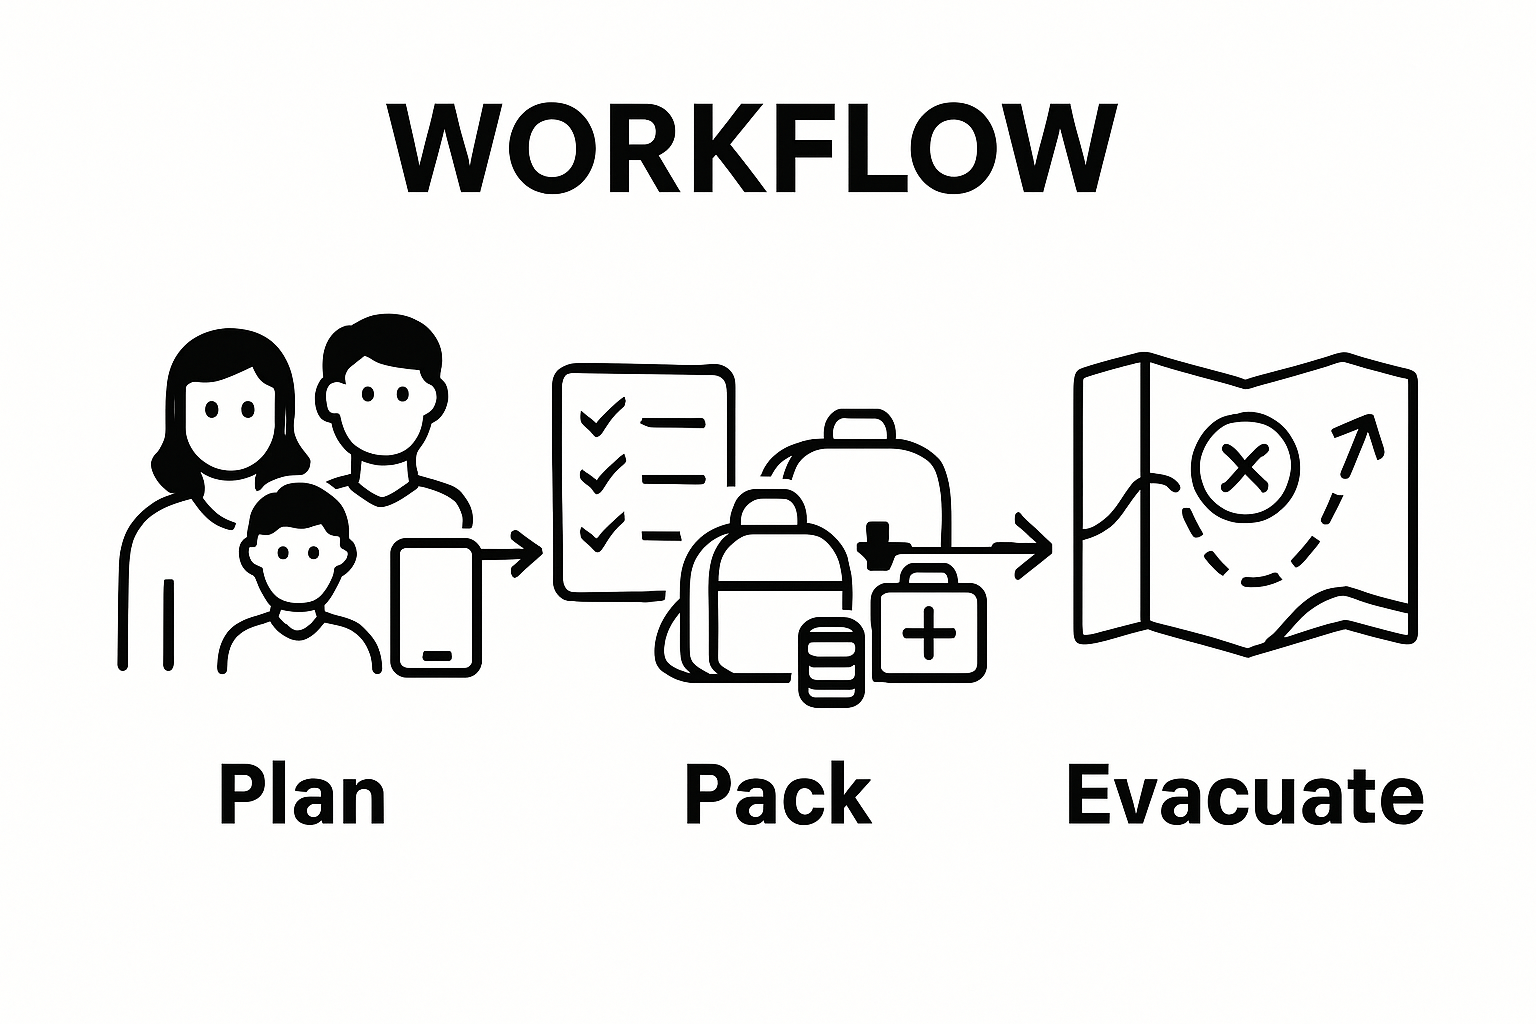
Successful emergency planning means transforming potential chaos into structured, calm response. By investing time in developing a robust plan now, you provide your family with the greatest possible protection when unexpected challenges emerge.
Step 2: Assess Your Immediate Needs
Assessing your immediate needs represents a critical transition from emergency preparation to active recovery, transforming initial shock into strategic action. This crucial step demands a systematic and clear-headed approach to understanding the full scope of your situation, identifying urgent requirements, and prioritizing resources that will stabilize your circumstances and prevent further complications.
Begin by conducting a comprehensive damage assessment of your living environment. Walk through your property methodically, documenting every area of destruction with detailed photographs and written notes. Capture visual evidence of damage for insurance purposes, ensuring you record structural issues, destroyed personal property, and potential safety hazards. Explore our guide for comprehensive damage documentation to support your recovery process.
Your immediate needs assessment must prioritize basic human survival requirements. Water, food, shelter, and medical care form the foundational pillars of your recovery strategy. Evaluate your current supply of potable water, checking both stored reserves and potential local water sources. Determine the condition of your food storage, checking for contamination or spoilage. If your current living space is compromised, quickly identify alternative shelter options such as emergency housing, temporary accommodations with family or friends, or local community shelters.
Medical needs require urgent and careful attention. Take inventory of prescription medications, medical equipment, and any ongoing health treatments that might have been interrupted by the disaster. Contact healthcare providers to understand how to maintain critical treatments, secure emergency prescription refills, and address any immediate health concerns. For individuals with chronic conditions or special medical requirements, developing a rapid response medical plan becomes paramount.
Financial resources and documentation represent another critical area of immediate assessment. Gather important documents like identification, insurance policies, banking information, and medical records. Store these in waterproof, portable containers for quick access. Determine your immediate financial capacity, checking available cash, bank account access, and potential emergency financial assistance programs that might provide rapid support during your recovery phase.
Successful immediate needs assessment transforms vulnerability into actionable intelligence. By systematically evaluating your circumstances, you create a clear roadmap for recovery, ensuring that each subsequent step is grounded in a realistic understanding of your current situation and available resources.
Step 3: Communicate with Relief Organizations
Communicating effectively with relief organizations transforms your disaster recovery from an overwhelming challenge into a structured, supported journey. This critical step involves establishing clear, strategic connections with agencies and support networks that can provide essential resources, guidance, and assistance during your most vulnerable moments. Your communication must be proactive, organized, and persistent.
Initiate contact by identifying the primary relief organizations serving your specific disaster area. Local emergency management offices, Red Cross chapters, FEMA representatives, and state disaster response teams represent your initial communication targets. Prepare a concise, clear summary of your situation, including specific needs, current living conditions, and any immediate challenges you are experiencing. Learn more about navigating disaster relief communications to streamline your recovery process.
Documentation becomes your most powerful communication tool during this phase. Compile a comprehensive packet that includes proof of residence, damage assessment photographs, insurance information, medical records, and identification documents. Having these materials organized and readily accessible demonstrates your preparedness and enables relief organizations to process your request more efficiently. Create both digital and physical copies, storing them in waterproof, portable containers to ensure their preservation.
When communicating with relief organizations, adopt a systematic approach. Begin with phone communications, establishing direct contact with specific departments or case managers. Follow up written or verbal communications with email documentation to create a verifiable record of your interactions. Be prepared to provide detailed information about your immediate needs, including housing requirements, medical necessities, financial constraints, and any dependent family members requiring special assistance.
Understand that relief organization communication is a two-way process. Listen carefully to their guidance, ask clarifying questions, and maintain a patient but persistent attitude. Different organizations may have varying support protocols, so remain flexible and open to multiple assistance pathways. Maintain a log of all communications, recording dates, names of representatives, contact information, and specific promises or recommendations provided.
Successful communication with relief organizations requires a balanced approach of patience, preparedness, and proactive engagement. By presenting yourself as an informed, organized individual committed to recovery, you significantly enhance your ability to access critical support during this challenging transition.
Step 4: Document Damage for Insurance Claims
Documenting damage for insurance claims represents a critical financial recovery strategy that transforms potential loss into tangible compensation. This meticulous process requires systematic evidence gathering, precise record-keeping, and strategic visual documentation to ensure you receive fair and comprehensive reimbursement for your disaster-related losses.
Begin your documentation process immediately after ensuring personal safety. Visual evidence is your most powerful insurance claim tool. Use high-resolution digital cameras or smartphone cameras to capture comprehensive images and videos of all damaged areas. Discover advanced techniques for effective damage documentation to maximize your claim potential. Photograph each room systematically, capturing wide-angle shots that show overall damage and close-up images revealing specific destruction details. Include shots of damaged structural elements, personal belongings, electronics, furniture, and any valuable items impacted by the disaster.
Create a comprehensive inventory of damaged property that goes beyond visual documentation. Develop a detailed spreadsheet listing each damaged item, including its estimated value, purchase date, and replacement cost. Gather historical documentation such as receipts, purchase records, appraisals, and previous photographs that can substantiate the value of lost or destroyed items. For high-value possessions like jewelry, artwork, or specialized equipment, include serial numbers and original purchase documentation to strengthen your claim.
Contact your insurance provider promptly to initiate the claims process. Most insurance companies have specific protocols for disaster-related claims, so request a detailed explanation of their documentation requirements. Maintain a dedicated communication log tracking all interactions, including dates, names of representatives, and specific instructions provided. Request a formal claims packet that outlines exactly what information they need, and systematically compile all required documentation.
Preserve physical evidence strategically. While documenting damage, avoid discarding damaged items until your insurance adjuster has reviewed them. If items must be removed for safety or restoration purposes, photograph them thoroughly before disposal and retain fragments or remnants as additional evidence. Keep all receipts related to emergency repairs, temporary housing, and immediate recovery expenses, as these might be reimbursable under your policy.
Successful insurance claim documentation transforms a potentially overwhelming loss into a structured path toward financial recovery. By approaching this process with patience, thoroughness, and strategic attention to detail, you maximize your potential for comprehensive compensation and faster restoration.
Step 5: Implement Recovery and Restoration Efforts
Implementing recovery and restoration efforts marks the transformative phase where strategic planning transitions into tangible rebuilding. This critical step demands a methodical approach that balances immediate needs with long-term reconstruction goals, ensuring you navigate the complex landscape of disaster recovery with precision and resilience.
Prioritize safety as your foundational principle during restoration efforts. Before initiating any reconstruction, conduct a comprehensive structural assessment with professional contractors who specialize in post-disaster rehabilitation. Explore our comprehensive guide to disaster recovery strategies to streamline your restoration process. Professional evaluations will identify potential structural weaknesses, electrical hazards, water damage, and potential environmental contaminants that might compromise your recovery efforts.
Establish a systematic restoration strategy that addresses both immediate repairs and long-term resilience. Work closely with licensed contractors who have experience in disaster recovery, obtaining multiple comprehensive estimates that detail specific repair methodologies, materials, and projected timelines. Create a detailed project management spreadsheet tracking expenses, repair progress, insurance interactions, and key milestone achievements. This documentation serves not only as a recovery roadmap but also provides crucial evidence for potential insurance reimbursements or government assistance applications.
Navigate the complex emotional and logistical landscape of restoration by building a supportive recovery network. Connect with local disaster recovery support groups, community organizations, and professional counseling services that can provide both practical guidance and emotional support during this challenging transition. Many communities offer free resources such as temporary housing assistance, financial counseling, and mental health support specifically designed for disaster victims.
Financial management becomes paramount during restoration efforts. Develop a comprehensive budget that accounts for both immediate repair costs and potential unexpected expenses. Explore multiple funding sources including insurance claims, federal disaster assistance programs, community grants, and low-interest recovery loans. Maintain meticulous financial records, preserving all receipts, contractor estimates, and communication documentation to substantiate your recovery expenses.
Successful restoration is not merely about rebuilding structures but reconstructing hope and stability. By approaching recovery with strategic planning, professional support, and unwavering resilience, you transform a moment of profound loss into an opportunity for renewal and strength.
Step 6: Verify Safety and Stability Post-Recovery
Verifying safety and stability post-recovery represents the critical final checkpoint in your disaster restoration journey, transforming reconstructed spaces from merely repaired to genuinely secure environments. This comprehensive evaluation ensures that your restored property meets essential safety standards, protecting both your physical infrastructure and personal well-being.
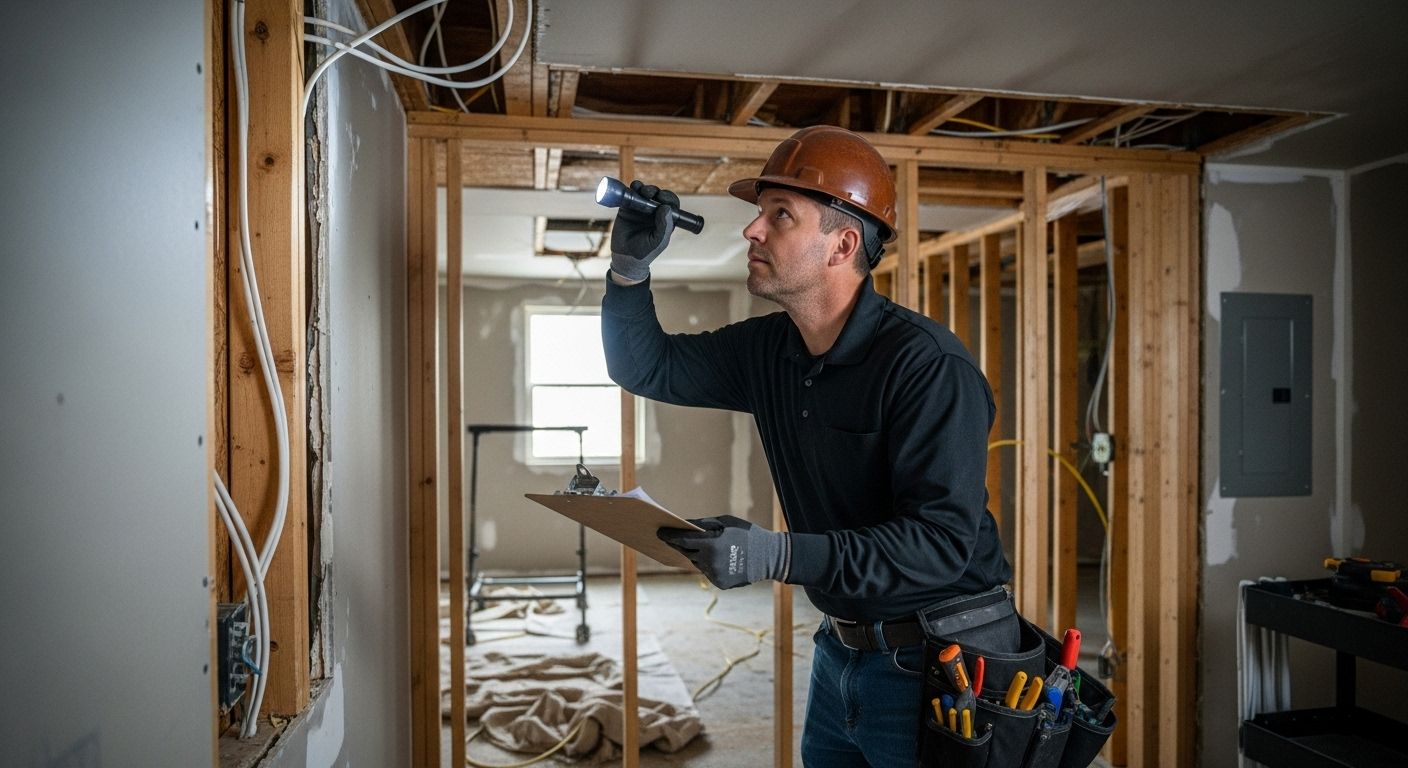
Professional structural assessment forms the cornerstone of safety verification**. Engage licensed structural engineers and building inspectors who specialize in post-disaster property evaluations. Explore our comprehensive guide to safe rebuilding strategies to understand critical safety verification protocols. These professionals will conduct meticulous examinations of foundational integrity, electrical systems, plumbing infrastructure, and potential hidden damage that might compromise your property’s long-term stability.
Critical safety verification extends beyond structural elements to encompass environmental and health considerations. Request comprehensive testing for potential hazards such as mold, asbestos, lead contamination, and structural weaknesses that might have emerged during or after restoration. These assessments protect not just your property’s physical structure but also the health of its occupants. Work closely with certified environmental testing professionals who can provide detailed reports and recommendations for remediation if any potential risks are identified.
Develop a systematic documentation process that records every aspect of your safety verification journey. Create a dedicated safety verification portfolio containing professional inspection reports, test results, remediation certificates, and photographic evidence of comprehensive evaluations. This documentation serves multiple purposes: providing peace of mind, supporting potential insurance claims, and establishing a clear record of your property’s post-disaster restoration process.
Establish ongoing monitoring protocols that extend beyond initial safety verification. Schedule periodic professional inspections, particularly in areas most susceptible to disaster-related damage. Develop a proactive maintenance strategy that addresses potential vulnerabilities, ensuring continuous safety and preventing future structural complications. Consider investing in additional protective measures such as enhanced drainage systems, reinforced building materials, or structural modifications that increase your property’s resilience against potential future disasters.
Successful safety verification transforms recovery from a reactive process to a proactive strategy of protection and resilience.
The following table provides an overview of the main disaster recovery steps, outlining the core action, primary objective, and a key outcome for each stage.
| Step | Main Action | Primary Objective | Key Outcome |
|---|---|---|---|
| Prepare Emergency Response Plan | Create protocols, contacts, and routes | Minimize panic and confusion | Organized, actionable family plan |
| Assess Immediate Needs | Conduct damage and needs assessment | Stabilize basic survival requirements | Clear understanding of urgent priorities |
| Communicate with Relief Organizations | Contact relief agencies systematically | Access support and resources | Effective aid and recovery assistance |
| Document Damage for Insurance Claims | Gather visual and written evidence | Substantiate insurance claims | Increased likelihood of financial recovery |
| Implement Recovery and Restoration | Organize repairs and emotional support | Safe, efficient long-term rebuilding | Physical and emotional progress |
| Verify Safety and Stability Post-Recovery | Conduct professional safety verification | Ensure lasting structural and health safety | Peace of mind and documented protection |
Step Forward with Professional Help When Disaster Hits
Recovering from a disaster is overwhelming. The article guides you through critical steps like creating emergency plans and documenting damage for insurance, but handling these tasks alone can be exhausting. You might be facing urgent decisions about your family’s safety, struggling to find temporary housing quickly, or feeling unsure about communicating with relief organizations and insurance providers. Every moment counts, and missing a detail can delay your journey back to stability.
You do not have to go through this process on your own. At Disaster Victim Services, we connect you directly with the emergency housing, financial support, and professional coordination you need—right when you need it most. Explore our Uncategorized resource center to see how others have rebuilt after catastrophe, or discover our expertise in developing secure recovery solutions. Take action now so you and your loved ones can move confidently from crisis to recovery. Visit DisasterVictimServices.com and get the compassionate support you deserve today.
Frequently Asked Questions
How can I prepare an emergency response plan for my family?
Creating an emergency response plan involves assessing potential risks specific to your area, documenting critical information, establishing communication channels, developing evacuation routes, and assembling an emergency kit with essential supplies.
What should I include in my emergency kit?
Your emergency kit should include essential supplies such as non-perishable food, water, a first aid kit, prescription medications, battery-powered communication devices, clothing, important documents in waterproof containers, and basic survival tools, enough to sustain your family for at least 72 hours.
How do I assess my immediate needs after a disaster?
To assess your immediate needs, conduct a thorough damage assessment of your living environment, prioritize basic human requirements (water, food, shelter, medical care), and document any urgent needs like medical essentials or alternative housing options.
What steps should I take to document damage for insurance claims?
Document damage by taking high-resolution photos of affected areas, creating a detailed inventory of lost items with estimated values, and gathering supporting documents such as receipts and insurance information to substantiate your claim.