
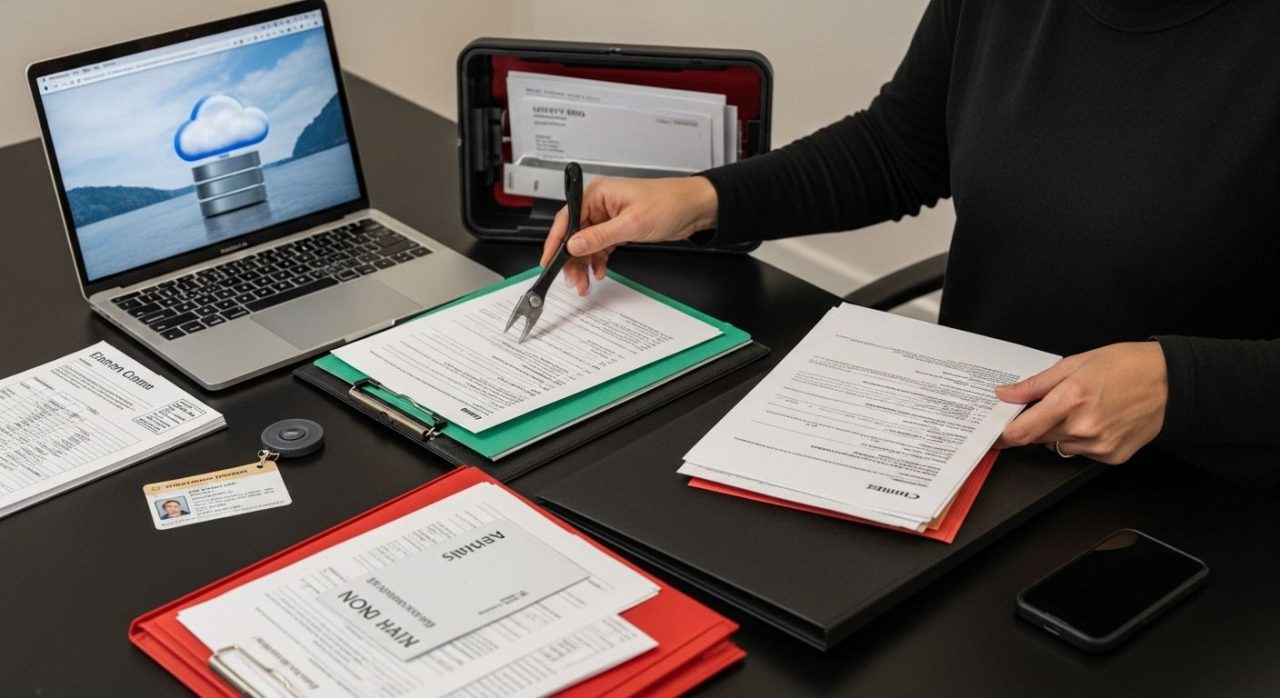
Disasters strike when you least expect, and the aftermath can feel overwhelming. More than 40 percent of Americans say they would struggle to document a basic insurance claim after a major event. That sounds shocking, right? But most people do not realize the real key to rebuilding is not the claim itself, but how well you document every single detail—because what you gather and organize today can decide how much support you get tomorrow.
Table of Contents
- Step 1: Gather Necessary Information
- Step 2: Organize Supporting Documents
- Step 3: Create a Detailed Claim Report
- Step 4: Submit Your Claim To Relevant Parties
- Step 5: Follow Up On Claim Status
- Step 6: Review And Archive Documentation For Future Reference
Quick Summary
| Key Point | Explanation |
|---|---|
| 1. Collect essential documentation early | Gather identification, proof of residence, and financial records to support your disaster claim efficiently. |
| 2. Organize documents systematically | Create a digital and physical filing system to categorize and label all documents clearly for easy access. |
| 3. Create a detailed claim report | Develop an itemized inventory of damaged property, including photographs and repair estimates for a compelling narrative. |
| 4. Submit to all relevant parties | Ensure timely submission of complete documentation to insurance providers, FEMA, and state agencies for prompt attention. |
| 5. Maintain consistent follow-up | Regularly check in on claim status with agencies, maintaining detailed logs of conversations to address any challenges. |
Step 1: Gather Necessary Information
Documenting your disaster claim begins with a critical first step: collecting and organizing essential information. This foundational process sets the stage for a smoother recovery journey, ensuring you have all the necessary documentation to support your claim and expedite assistance.
Start by creating a dedicated emergency file where you’ll compile all critical documents. Gather personal identification documents including driver’s licenses, social security cards, birth certificates, and passport copies. These will be crucial for verifying your identity during the claims process. Next, collect proof of residence such as utility bills, lease agreements, mortgage documents, or property deeds that establish your connection to the damaged property.
Financial documentation plays a pivotal role in substantiating your claim. Collect recent tax returns, pay stubs, bank statements, and any insurance policy documents. According to FEMA guidance, these documents help verify your household income and support your eligibility for various assistance programs.
Photographic and video evidence are your most powerful tools in documenting disaster damage. Immediately after it is safe to do so, capture comprehensive visual documentation of all damaged property. Take clear, well-lit photos from multiple angles, ensuring you document damage to structures, personal belongings, and interior spaces. Include close-up shots that reveal the extent of destruction, and wide-angle images that provide context for the overall damage.
Organize your documentation systematically. Use a waterproof and fireproof container or create digital backups stored in secure cloud storage. Make multiple copies of important documents, keeping one set in a separate location. By meticulously gathering and protecting this information, you create a solid foundation for navigating the complex claims process and maximizing your potential recovery support.
Verify your documentation checklist includes:
- Original identification documents
- Property ownership proof
- Insurance policy details
- Comprehensive damage photographs
- Financial records
Remember, thorough documentation is your strongest ally in disaster recovery, transforming a potentially overwhelming experience into a manageable path toward rebuilding.
Step 2: Organize Supporting Documents
Organizing your supporting documents transforms a chaotic aftermath into a strategic recovery process. This critical step ensures that every piece of evidence is systematically arranged, making your claim more compelling and easier to process.
Begin by creating a comprehensive digital and physical filing system. Use a color-coded folder system or digital folders with clear naming conventions that separate documents by type: identification, property records, insurance policies, damage assessments, and expense receipts. Consider using cloud storage as a backup, ensuring these critical documents are protected even if physical copies are lost.
According to California Department of Insurance guidance, maintaining a detailed claim diary is crucial. Create a log that tracks every interaction, including dates, names of representatives you speak with, phone numbers, and summaries of conversations. This documentation becomes invaluable if disputes arise or you need to reference previous communications.
Each document should be clearly labeled with essential information. Write your name, disaster reference number, and contact information on every page. Make multiple copies of critical documents, storing one set in a fireproof and waterproof container, and another in a secure digital location. Digitize all paper documents by scanning them at high resolution, ensuring you capture every detail.
Pay special attention to financial documentation. Organize receipts chronologically, highlighting disaster-related expenses. Group documents that demonstrate property value before the disaster, such as previous tax assessments, recent appraisals, or home improvement receipts. These will be critical in substantiating your total loss claim.
The following checklist table summarizes the essential tasks for organizing your supporting documents, helping you ensure nothing is overlooked during this step.
| Task | Description | Method |
|---|---|---|
| Label and categorize documents | Clearly identify type and owner on each document | Use color coding and naming conventions |
| Create physical and digital backups | Protect documents against loss or damage | Store in fireproof safe and use cloud storage |
| Maintain a claim communication log | Track every interaction with agencies | Record dates, names, and summaries |
| Organize expense receipts chronologically | Keep disaster-related receipts in order | Use folders or envelopes by date |
| Gather property value documentation | Assemble records proving pre-disaster value | Include appraisals, tax assessments, improvements |
Verify your organization checklist includes:
- Labeled and categorized documents
- Digital and physical backup copies
- Comprehensive claim communication log
- Chronological expense receipts
- Property value documentation
Check out our guide on preparing critical documentation for additional insights into streamlining your recovery process. Remember, meticulous organization is your strongest ally in navigating the complex claims landscape.
Step 3: Create a Detailed Claim Report
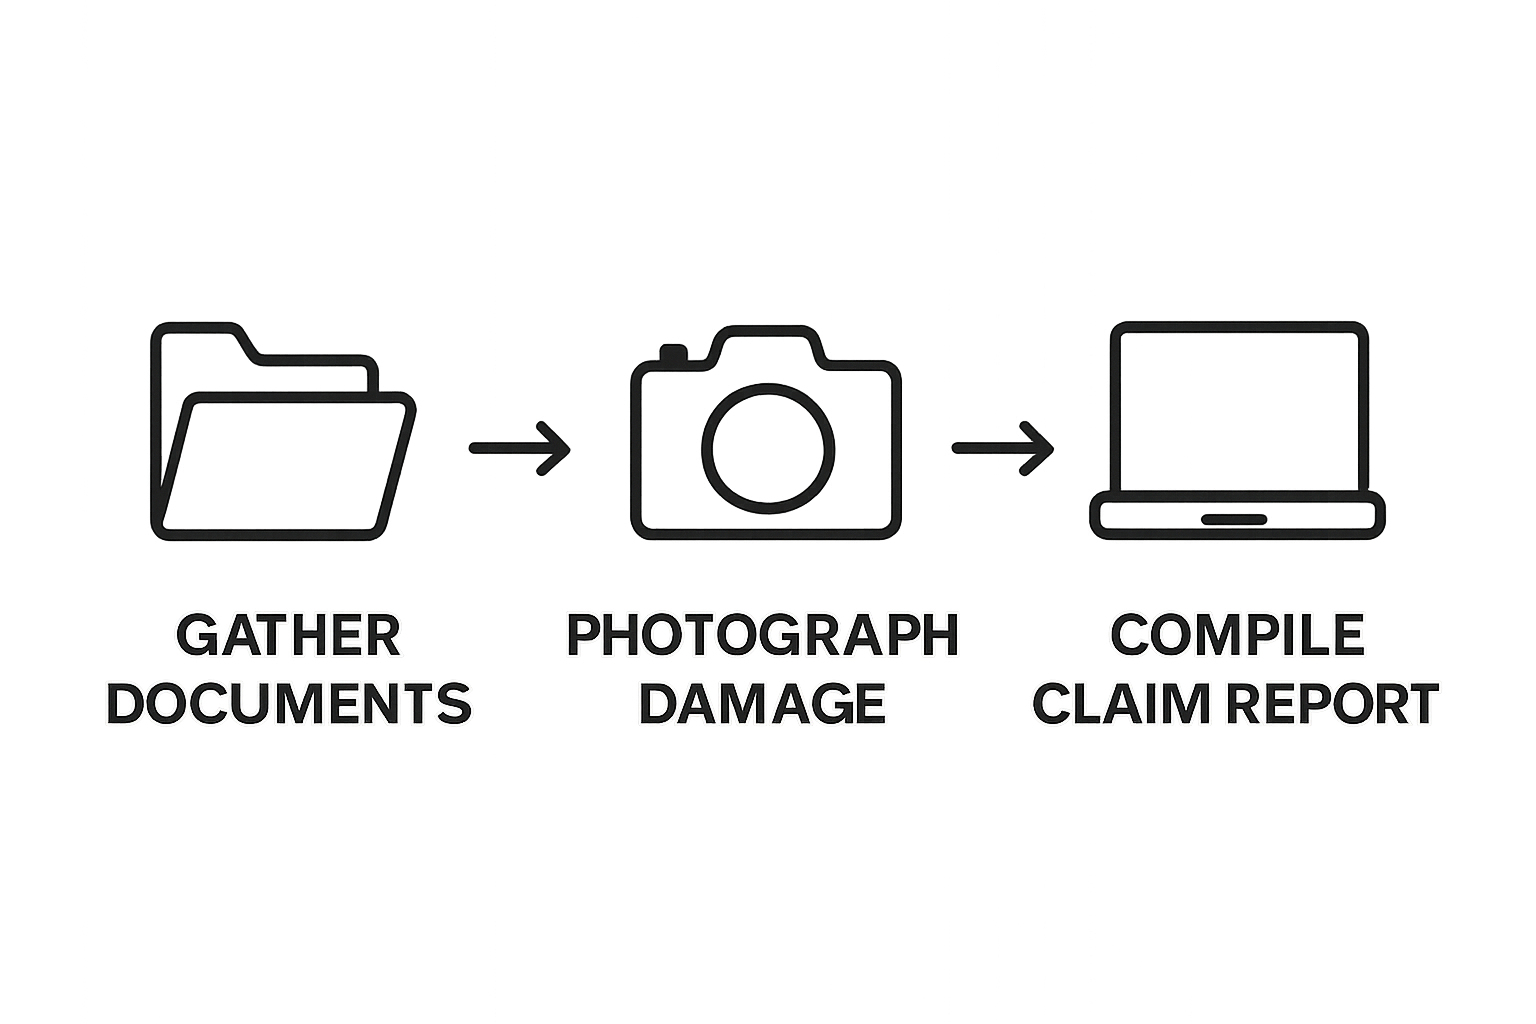
Creating a detailed claim report transforms your documentation from a collection of papers into a powerful narrative that clearly communicates the full extent of your disaster-related losses. This critical step requires precision, thoroughness, and strategic presentation of your evidence.
Begin by developing a comprehensive property damage inventory. Walk through each affected area systematically, documenting every damaged item with meticulous detail. For each item, record its original purchase date, estimated value, replacement cost, and current condition. Use a spreadsheet or specialized inventory app to track these details, ensuring nothing gets overlooked. Take high-resolution photographs of each damaged item from multiple angles, capturing serial numbers, brand information, and specific damage points.
According to FEMA guidance, photographic evidence is crucial. Capture wide-angle shots that provide context for the damage, followed by close-up images that reveal specific details. Ensure your photos are time-stamped and include a scale reference like a ruler or common object to demonstrate the extent of destruction.
Construct a narrative report that tells the story of your loss. Begin with a chronological description of the disaster event, detailing how it impacted your property. Include precise measurements of damaged areas, estimated repair costs, and professional assessment documents. Compile all supporting documentation such as contractor estimates, repair quotes, and expert evaluations. Each piece of documentation should be clearly labeled with your claim number and contact information.
Pay special attention to calculating replacement and repair costs. Research current market prices for damaged items, collect multiple repair estimates from licensed professionals, and document any additional expenses incurred as a result of the disaster. This comprehensive approach demonstrates the full financial impact of your loss.
Verify your claim report checklist includes:
- Detailed item-by-item inventory
- High-resolution damage photographs
- Chronological disaster impact narrative
- Professional repair and replacement estimates
- Comprehensive financial documentation
Learn more about building a comprehensive claim documentation strategy to maximize your recovery potential. Remember, a well-documented claim is your most powerful tool in navigating the disaster recovery process.
Step 4: Submit Your Claim to Relevant Parties
Submitting your claim to the appropriate parties is a pivotal moment in your disaster recovery journey. This step transforms your meticulously prepared documentation into a formal request for assistance and compensation, requiring strategic communication and precise follow-through.
Begin by identifying all relevant parties who need your claim documentation. This typically includes your primary insurance provider, supplemental insurance carriers, FEMA, state emergency management agencies, and potentially your mortgage lender. Create a comprehensive submission strategy that ensures each organization receives a complete and consistent set of documents.
According to FEMA guidance, you have specific timelines for submitting documentation. Most agencies require claim submissions within 12 months of the disaster, but earlier submissions significantly expedite your recovery process. Prepare multiple copies of your documentation and consider using certified mail or tracked digital submissions to maintain a clear record of when and how each claim was sent.
When submitting your claim, include a concise cover letter that summarizes the key points of your loss. This letter should clearly state the disaster date, your contact information, and a brief overview of the damages. Attach your detailed inventory, photographs, repair estimates, and any professional assessments. Ensure each document is labeled with your claim number and contact details.

Understand that different agencies have varying submission protocols. Some prefer online portals, while others require physical mail or in-person submissions. Create a tracking system to monitor the status of each claim, recording submission dates, contact names, and any reference numbers provided. Follow up within two weeks of submission if you have not received an initial response.
Verify your claim submission checklist includes:
- Complete set of documentation for each agency
- Certified mailing or digital submission confirmation
- Tracking system for claim status
- Follow-up timeline and contact information
- Copies of all submitted materials
Explore our comprehensive guide on navigating insurance claims to maximize your recovery potential. Remember, persistence and thorough documentation are your strongest allies in securing the support you deserve.
Step 5: Follow Up on Claim Status
Following up on your disaster claim is a critical phase that transforms your submission from a passive document into an active recovery process. This step requires persistent communication, strategic documentation, and a proactive approach to ensuring your claim receives the attention it deserves.
Establish a systematic follow-up strategy by creating a dedicated communication log. Every interaction with insurance representatives, government agencies, or claims adjusters should be meticulously recorded. Note the date, time, representative’s name, contact information, and a detailed summary of the conversation. This documentation becomes your protective shield, providing clear evidence of your ongoing efforts and preventing potential miscommunications.
According to state insurance guidance, consistent follow-up is key to moving your claim forward. Contact each relevant agency every seven to ten days, alternating between phone calls and written communication. When calling, request specific information about your claim’s current status, anticipated next steps, and any additional documentation that might be required. Follow each phone conversation with a confirmation email that restates the key points discussed.
Understand that each agency has different processing timelines. FEMA, insurance companies, and state emergency management offices operate on varying schedules. Develop a color-coded tracking system that helps you monitor the status of each claim simultaneously. Use digital tools or a dedicated notebook to track submission dates, follow-up dates, and responses received. This approach transforms your claim management from reactive to proactive.
Be prepared for potential challenges. Some claims may require additional documentation or face unexpected delays. Maintain a calm, professional demeanor during all communications. If you encounter roadblocks, request to speak with a supervisor or claims manager who can provide more detailed insights into your specific situation.
Verify your claim follow-up checklist includes:
- Detailed communication log
- Regular follow-up schedule
- Copies of all correspondence
- Tracking system for multiple claims
- Contact information for key representatives
Explore our comprehensive guide for navigating insurance claim complexities to streamline your recovery journey. Remember, persistent and organized follow-up is your most powerful tool in securing the support you need.
Step 6: Review and Archive Documentation for Future Reference
Reviewing and archiving your disaster claim documentation is a crucial final step that transforms your recovery experience into a valuable historical record. This process protects your legal rights, supports potential future claims, and provides a comprehensive narrative of your recovery journey.
Begin by conducting a thorough comprehensive review of all collected documents. Carefully examine each file, ensuring all paperwork is complete, legible, and properly organized. Check for any missing signatures, incomplete forms, or potential discrepancies that might impact future claims. Create a master index that catalogues every document, including its purpose, date, and significance in your overall recovery process.
According to FEMA guidance, you should maintain these documents for at least three years. Choose an archiving method that provides both physical and digital protection. Invest in a high-quality fireproof and waterproof document safe for physical copies, and simultaneously create encrypted digital backups using cloud storage with robust security features. Consider using external hard drives as an additional backup method, storing one copy in a separate physical location.
Digital archiving requires strategic organization. Create a consistent file naming convention that includes the document type, date, and claim number. Scan all physical documents at high resolution, ensuring clear, readable digital copies. Use PDF format for long-term preservation, as it maintains document integrity across different platforms. Organize your digital files in a logical folder structure that mirrors your physical filing system, making retrieval simple and intuitive.
Remember that your archived documentation serves multiple future purposes. These records can support tax deductions, future insurance claims, potential legal proceedings, and personal historical documentation. Periodically review your archived materials, updating contact information and ensuring the continued accessibility of your digital and physical files.
Verify your documentation archiving checklist includes:
- Comprehensive document review
- Physical fireproof storage
- Encrypted digital backups
- Consistent file naming system
- Multiple backup locations
- Periodic document integrity checks
Explore our comprehensive guide on maintaining critical documentation to protect your recovery journey. Your meticulous archiving today becomes your most valuable resource for tomorrow.
Bridge the Gap Between Documentation and Disaster Recovery Success
If you are feeling overwhelmed by the documentation process after a disaster, you are not alone. The article “Claim Documentation Tips for Effective Disaster Recovery” highlights how crucial it is to organize identification documents, create detailed inventories, and maintain a clear claim log during the recovery journey. Missing paperwork or unclear records can slow down your claim and delay vital support. This complicated process can quickly become frustrating and emotionally draining, especially when you are trying to secure immediate help for your family.
This step overview table provides a quick reference to each major phase of the disaster claim documentation process, along with the main task and intended outcome for easy navigation.
| Step | Main Task | Key Outcome |
|---|---|---|
| 1. Gather Information | Collect identification, proof of residence, finances, and photos | Build a foundation for your claim |
| 2. Organize Documents | Systematically arrange, label, and back up records | Streamline access and prevent loss |
| 3. Create Claim Report | Develop an inventory, add photos, and write a narrative | Present compelling evidence of loss |
| 4. Submit to Parties | Send documentation to all relevant agencies | Initiate the claim for recovery |
| 5. Follow Up | Maintain logs and check claim status | Ensure continued progress |
| 6. Review and Archive | Finalize and protect your records | Prepare for future needs or reviews |
You do not need to face this challenge on your own. At Disaster Victim Services, our dedicated team provides compassionate guidance and hands-on support with emergency housing, insurance claim communication, and disaster recovery logistics. We specialize in connecting victims to urgent solutions, while simplifying complex documentation and streamlining your path back to normalcy. Even if your situation feels uncertain, our nationwide expertise and collaborative approach make it easier to get the critical help you need—right now. Visit our Uncategorized – Disaster Victim Services | Helping You Recover After Disaster category for more practical resources and expert insights. Ready to claim your peace of mind? Start with Disaster Victim Services today and move forward with confidence.
Frequently Asked Questions
What documents do I need to gather for my disaster claim?
You should collect personal identification documents (like driver’s licenses and social security cards), proof of residence (such as utility bills and property deeds), financial records (including tax returns and pay stubs), insurance policy details, and comprehensive damage photographs.
How should I organize my disaster claim documents?
Create a digital and physical filing system using color-coded folders or clearly named digital folders to categorize documents by type. It’s also important to maintain a detailed claim diary that logs all interactions with representatives.
What should be included in a detailed claim report?
Your claim report should include a comprehensive property damage inventory with details such as the original purchase date, estimated value, and condition of each item. High-resolution photographs of damaged items, a chronological narrative of the disaster impact, and professional cost estimates should also be included.
How can I effectively follow up on my disaster claim status?
Establish a systematic follow-up strategy by maintaining a communication log for each interaction. Contact relevant agencies every 7 to 10 days, alternating between calls and emails. Create a tracking system to monitor submission dates and responses, ensuring proactive engagement with your claim.
Recommended
- Essential Steps for Disaster Documentation in 2025 – Disaster Victim Services | Helping You Recover After Disaster
- How to Prepare Documents for Disaster Relief in 2025 – Disaster Victim Services | Helping You Recover After Disaster
- How to Replace Documents After a Disaster: 2025 Guide – Disaster Victim Services | Helping You Recover After Disaster
- Insurance Claim Verification Steps: 2025 Guide for Disaster Victims and Support Teams – Disaster Victim Services | Helping You Recover After Disaster