
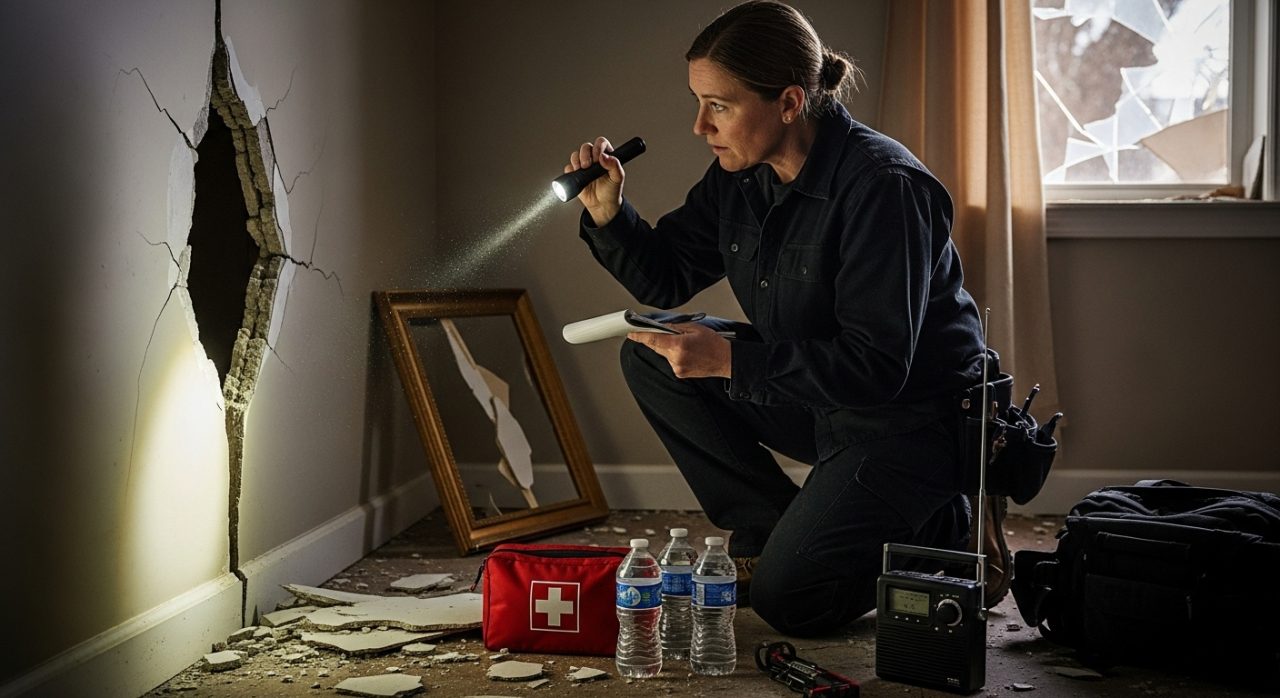
Getting through a disaster often feels like total chaos. Over 60 percent of families admit they have no functional emergency plan or kit ready at home, even though emergencies strike without warning. Most people think survival is just about luck and quick reactions, but there is a proven, step-by-step strategy anyone can follow—one that turns panic into smart action and actually boosts your chances of making it through safely.
Table of Contents
- Step 1: Evaluate Your Immediate Environment
- Step 2: Identify and Mitigate Hazards
- Step 3: Establish Communication Protocols
- Step 4: Assemble an Emergency Kit
- Step 5: Create a Recovery Action Plan
- Step 6: Review and Adjust Safety Measures
Quick Summary
| Key Point | Explanation |
|---|---|
| 1. Evaluate your environment immediately | Assess structural damage and risks to ensure safety before taking further actions. |
| 2. Identify and neutralize hazards swiftly | Recognize chemical, electrical, and structural threats to minimize danger to yourself and others. |
| 3. Establish a strong communication protocol | Create a reliable, multi-layered communication plan to stay connected with family and emergency services. |
| 4. Assemble a comprehensive emergency kit | Gather essential supplies in a waterproof container to prepare for disruptions in standard services. |
| 5. Regularly review and adapt safety measures | Continuously evaluate and update your safety strategies based on changing conditions and new information. |
Step 1: Evaluate Your Immediate Environment
In the aftermath of a disaster, your first critical task is to rapidly assess the safety of your immediate surroundings. This initial evaluation can mean the difference between continued vulnerability and securing a protected space for yourself and your family. Quickly scanning your environment with a strategic approach helps you understand potential risks and determine your next immediate actions.
Begin by conducting a systematic visual inspection of your current location. Look for obvious signs of structural damage such as cracked walls, fallen ceiling sections, exposed electrical wiring, or compromised foundation elements. Water pooling, exposed gas lines, or electrical sparking represent immediate danger zones that require urgent attention. Move carefully and deliberately, avoiding sudden movements that might trigger additional structural instability.
Prioritize checking potential hazards that could threaten your personal safety. Our emergency response basics guide recommends systematically examining potential risks like:
- Broken glass or sharp debris
- Unstable furniture or hanging objects
- Signs of gas leaks or electrical system damage
- Water contamination or flooding
If you detect any significant risks, create immediate distance between yourself and the hazardous area. Listen for sounds of potential structural shifting, gas hissing, or water flowing in unexpected locations. Use all your senses to gather information about your environment. A calm, methodical approach allows you to make rational decisions during what might feel like a chaotic moment.
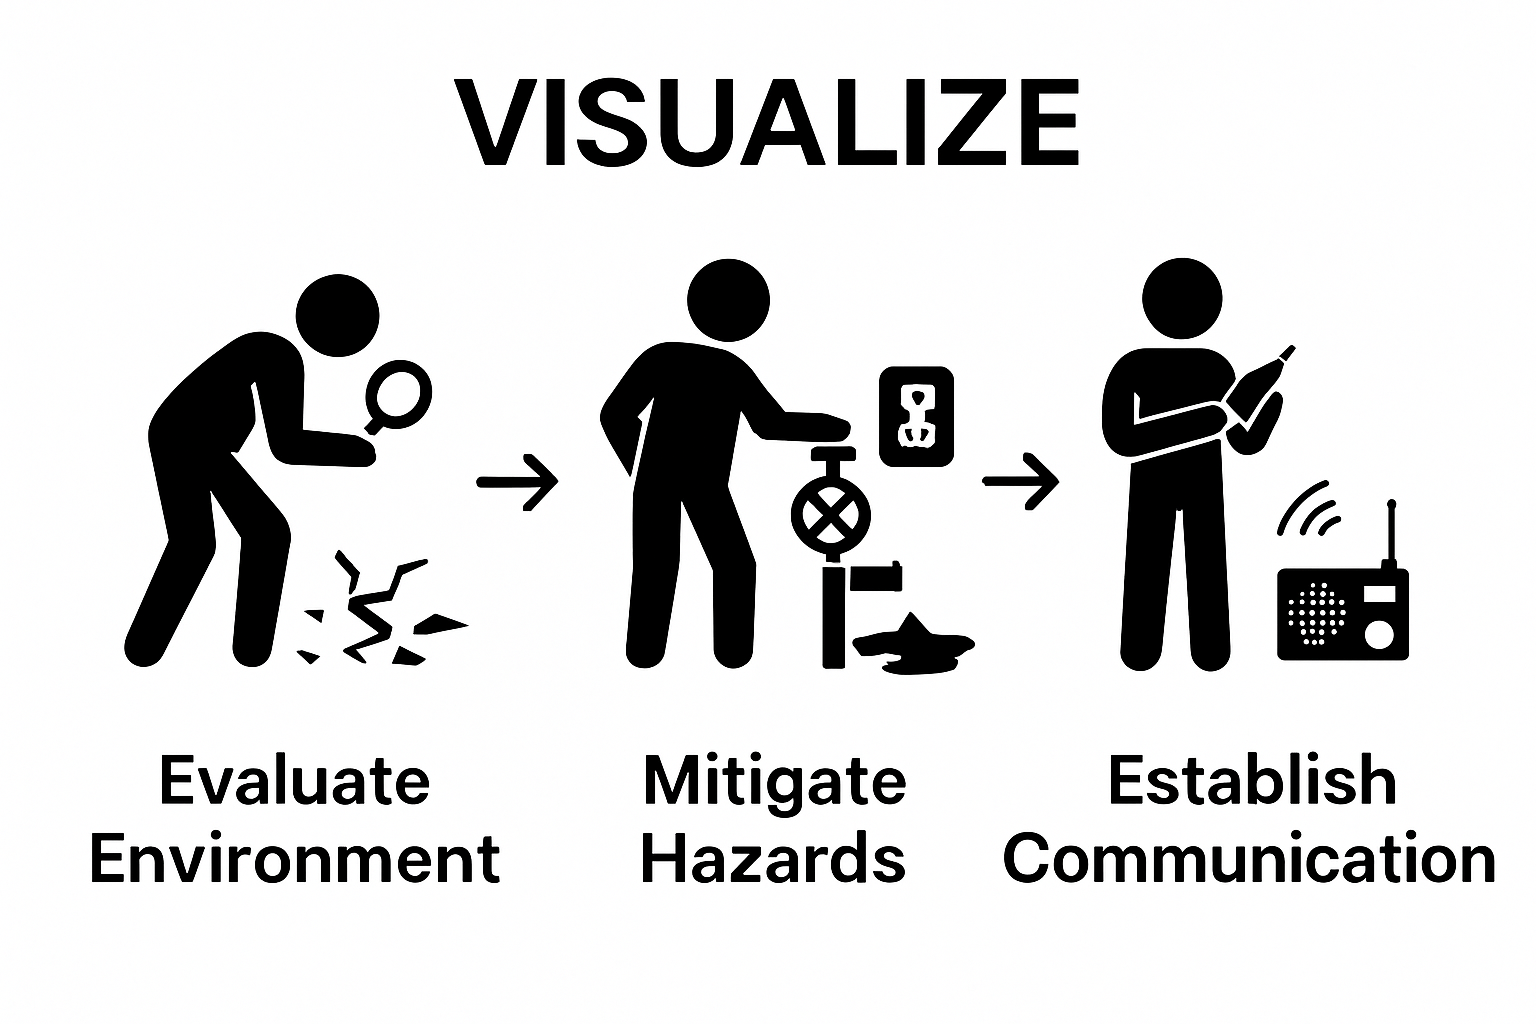
Should you determine that your current location is unsafe, prepare to evacuate quickly. Gather essential emergency supplies if possible, but prioritize personal safety over material possessions. Move toward the nearest verified safe area, following any guidance from local emergency responders or official communication channels. Your primary objective is protecting human life while minimizing additional exposure to potential dangers.
Step 2: Identify and Mitigate Hazards
Once you have initially evaluated your immediate environment, the next critical phase involves systematically identifying and neutralizing potential hazards that could compromise your safety. This step transforms your survival strategy from passive observation to active protection, requiring careful attention and strategic thinking.
Chemical and environmental risks demand immediate recognition. Look for signs of potential contamination such as unusual odors, discolored water, or visible chemical spills. Gas leaks represent an especially dangerous threat that requires swift action. If you detect a gas smell, immediately stop all potential ignition sources like electrical devices or open flames. Do not use light switches or telephones in the area, as these could create sparks that might trigger an explosion.
Learn more about comprehensive risk assessment strategies to understand how professionals approach hazard identification. Your primary objectives include minimizing exposure to dangerous substances and preventing secondary disaster scenarios.
Electrical hazards demand particular caution. Avoid standing water near electrical equipment, and look for fallen power lines or exposed wiring. Never attempt to move or touch electrical equipment if you suspect damage. If possible, shut off the main power supply to prevent potential electrocution risks. Water and electricity create a lethal combination that can cause immediate and fatal consequences.
Physical structural hazards require careful navigation. Inspect floors, walls, and ceilings for signs of potential collapse. Cracks, bulging walls, or sounds of shifting materials indicate potential structural instability. Move cautiously, distributing your weight carefully and avoiding areas that seem compromised. Wear protective footwear if available to shield against broken glass, exposed nails, or sharp debris.
Prioritize creating a safe perimeter around yourself and any companions. Your goal is to establish a zone free from immediate dangers where you can assess your situation, communicate with emergency services, and prepare for potential evacuation or rescue. Stay calm, move deliberately, and continuously reassess your environment as conditions can change rapidly during post-disaster scenarios.
Step 3: Establish Communication Protocols
Communication becomes a critical lifeline during disaster scenarios, transforming from a convenience to a survival mechanism. Your ability to connect with family members, emergency services, and support networks can significantly impact your safety and recovery trajectory. Developing a robust communication strategy requires proactive planning and multiple backup approaches.
Explore our comprehensive family reunification guide to understand the nuanced approaches for maintaining contact during chaotic emergency situations. Start by establishing a designated family communication point person who can serve as a central information hub. This individual should be someone located outside the immediate disaster zone, preferably in a different geographic region, who can coordinate messages and track family members’ statuses.
Create a multi-layered communication plan that does not rely exclusively on cellular networks. Text messages often work when voice calls fail, so prioritize SMS as your primary mobile communication method. Develop a series of predetermined check-in times and backup communication channels. Consider investing in battery-powered or hand-crank emergency radios that can receive local broadcasts and emergency announcements when traditional communication infrastructure becomes compromised.
Important contact information should be memorized or physically recorded in a waterproof, portable document. This includes emergency contact numbers, local authorities’ contact details, insurance information, and critical medical contacts. Do not exclusively rely on digital storage, as electronic devices may become unavailable during disasters.
Implement a systematic approach to tracking and confirming family member locations. Establish predetermined meeting points both within your immediate community and in alternate locations if local routes become impassable. Each family member should understand the communication protocol, including designated check-in procedures, emergency contact sequences, and backup communication methods.
Verify your communication plan’s effectiveness by conducting periodic family drills and updating contact information regularly.
A communication strategy is only as strong as its most recent review and rehearsal. Adaptability and preparedness will transform your communication protocol from a theoretical concept into a practical survival tool during unpredictable emergency scenarios.
Step 4: Assemble an Emergency Kit
An emergency kit transforms from a simple collection of supplies to a critical survival toolkit during disaster scenarios. Your emergency kit represents your lifeline when standard infrastructure and support systems become unavailable. This comprehensive collection of essential items can mean the difference between vulnerability and resilience during unpredictable emergency situations.
Explore our comprehensive emergency kit packing guide to understand the nuanced approach to assembling your survival resources. Start by selecting a durable, waterproof container that can be easily carried or transported. Consider multiple smaller containers if you anticipate potential evacuation scenarios, ensuring your critical supplies remain protected and mobile.
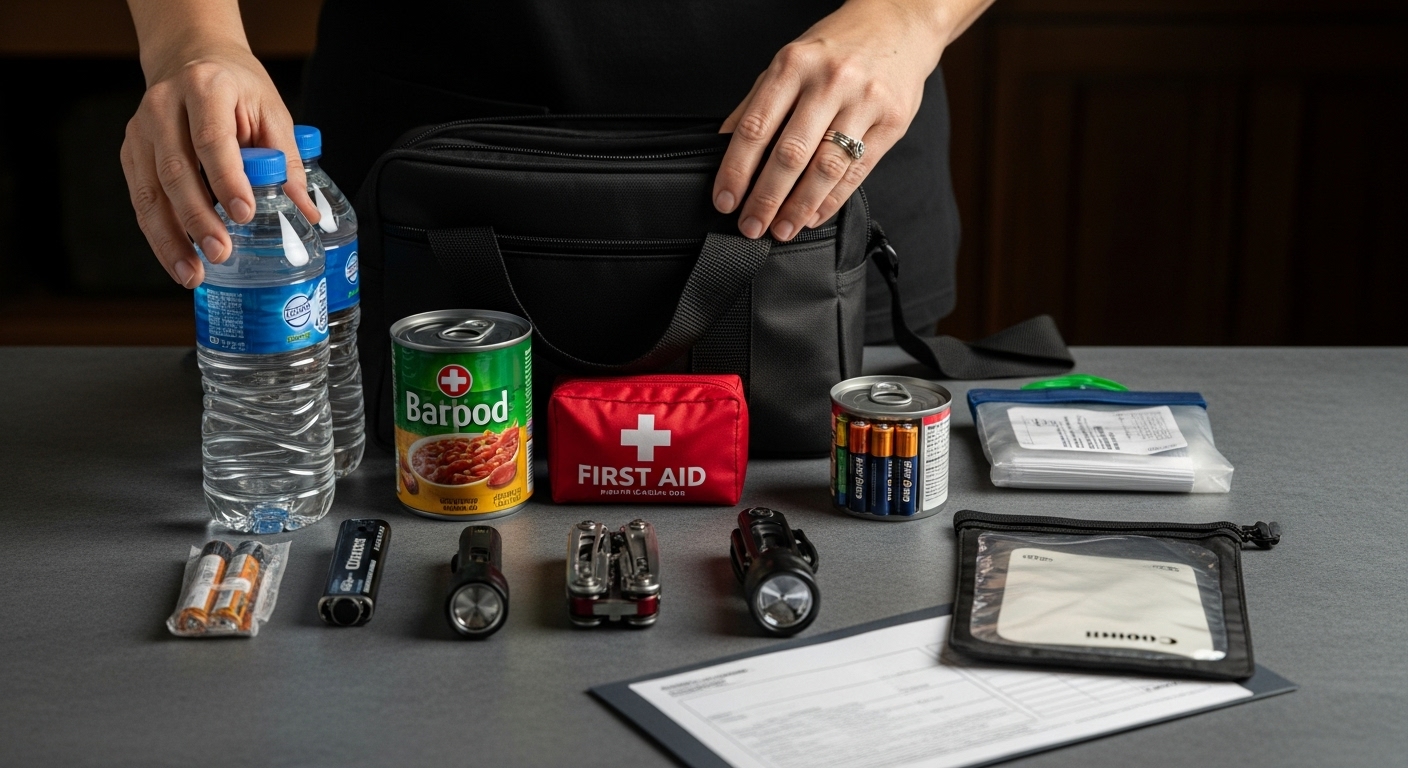
Your emergency kit should include essential survival categories that address immediate physical needs and long-term survival requirements. Water and non-perishable food form the foundational elements of your emergency preparedness. Pack at least one gallon of water per person per day, planning for a minimum three-day supply. Select compact, high-calorie non-perishable food items that require minimal preparation and provide sustained nutritional value.
Beyond basic sustenance, incorporate critical survival tools and personal protection equipment. Include a battery-powered or hand-crank radio for receiving emergency broadcasts, multiple light sources like flashlights and extra batteries, a comprehensive first aid kit, essential medications, multi-tool, waterproof matches, emergency blankets, and a portable phone charger or backup battery pack.
Personalize your emergency kit by including critical personal documents in a waterproof, portable container. Gather copies of identification, insurance policies, medical records, emergency contact information, and financial documents. Consider including small denominations of cash, as electronic payment systems might become unavailable during extensive disruptions.
Regularly review and update your emergency kit, replacing expired items and adjusting supplies to match your current family composition and potential regional disaster risks.
Below is a checklist table to help you verify the essential items you should include in your emergency kit, based on recommendations from the guide.
| Item | Minimum Recommendation | Purpose |
|---|---|---|
| Water | 1 gallon per person per day (3 days minimum) | Drinking and sanitation |
| Non-perishable food | 3-day supply | Sustained nutrition |
| First aid kit and medications | Comprehensive kit plus personal prescriptions | Emergency medical needs |
| Battery-powered or hand-crank radio | 1 unit | Receive emergency broadcasts |
| Flashlights and extra batteries | Multiple | Light sources |
| Emergency blankets | 1 per person | Warmth and protection |
| Multi-tool and waterproof matches | 1 each | Versatile tool and fire starting |
| Copies of important documents | Waterproof, portable container | Identity, insurance, and medical records |
| Portable phone charger or backup power | 1 unit | Power mobile devices |
| Cash (small denominations) | As practical | Transactions during power outages |
Step 5: Create a Recovery Action Plan
A recovery action plan transforms overwhelming disaster aftermath into a structured pathway toward restoration and healing. This strategic blueprint becomes your roadmap for navigating the complex landscape of post-disaster recovery, turning chaos into calculated, methodical progress. Your plan must address immediate survival needs while simultaneously laying groundwork for long-term rehabilitation.
Explore our comprehensive disaster recovery support guide to understand the nuanced approaches to systematic recovery. Begin by conducting a thorough damage assessment, meticulously documenting every aspect of loss. Photograph and video record property damage, collecting evidence for insurance claims and potential disaster relief applications. Create a detailed inventory of destroyed or compromised assets, noting approximate replacement values and critical documentation requirements.
Financial recovery requires immediate and strategic action. Contact your insurance provider promptly, initiating the claims process with comprehensive documentation. Simultaneously, research federal and state disaster relief programs that might offer financial assistance or emergency grants. Organize all relevant personal identification, property ownership documents, and insurance policies in a secure, easily accessible location. Understand that financial recovery is a marathon, not a sprint, requiring patience and persistent documentation.
Establish clear, prioritized recovery objectives that address both immediate and long-term needs. Short-term goals might include securing temporary housing, replacing essential personal items, and managing critical medical requirements. Long-term objectives could involve home repairs, navigating insurance claims, and rebuilding community infrastructure. Create a flexible timeline that acknowledges potential setbacks while maintaining forward momentum.
Develop a support network that extends beyond immediate family. Connect with local disaster relief organizations, community support groups, and government agencies specializing in post-disaster recovery. These connections can provide crucial resources, emotional support, and practical guidance during challenging reconstruction phases. Remember that recovery is not solely about physical restoration but also emotional resilience and community rebuilding.
Step 6: Review and Adjust Safety Measures
Safety is not a static condition but a dynamic process that requires continuous evaluation and adaptation. Your ability to systematically review and modify safety protocols can mean the difference between vulnerability and resilience. This critical step transforms initial emergency responses into a comprehensive, evolving strategy that protects you and your loved ones through changing circumstances.
Discover our comprehensive disaster safety checklist to understand the nuanced approach to ongoing safety management. Begin by conducting a methodical assessment of your current environment, looking beyond immediate visible damage to potential hidden risks. Pay close attention to structural integrity, potential contamination sources, and emerging environmental hazards that might not be immediately apparent.
Structural vulnerabilities demand meticulous and professional evaluation. Engage qualified professionals such as structural engineers, building inspectors, or emergency management specialists to conduct comprehensive assessments. These experts can identify subtle structural weaknesses, potential electrical or plumbing risks, and environmental contamination that untrained eyes might miss. Document every assessment thoroughly, creating a detailed record that can inform your ongoing safety strategy and potential insurance or recovery claims.
Develop a flexible safety adaptation framework that allows for rapid response to changing conditions. This involves creating multiple contingency plans that address various potential scenarios. Consider factors like alternative evacuation routes, backup communication methods, and emergency shelter locations. Your safety plan should be a living document, regularly updated to reflect new information, changing environmental conditions, and lessons learned from your immediate disaster experience.
Establish a systematic review process that becomes a regular part of your recovery routine. Schedule periodic safety assessments, involve all family members in safety discussions, and remain open to adjusting your approach based on new information. Remember that safety is not about achieving a perfect state but maintaining a vigilant, adaptive mindset that prioritizes protection and preparedness in an unpredictable world.
Take Control of Your Safety and Start Recovering with Expert Help
After experiencing a disaster, uncertainty, fear, and confusion often replace your sense of security. The article “How to Stay Safe After a Disaster: Practical Steps” highlights just how overwhelming it can be to evaluate hazards, create emergency plans, and start rebuilding when your world has been turned upside down. Concerns about finding safe shelter, communicating with loved ones, and navigating the first steps toward recovery can feel impossible to face alone.
If you are struggling with these very real problems, now is the time to tap into expert support. DisasterVictimServices.com offers immediate and compassionate solutions, connecting you to emergency housing, critical logistical support, and guidance through every phase of disaster recovery. Explore our support resources and visit our homepage for 24/7 help built entirely around your needs. Move beyond crisis and start your recovery journey with the support and expertise you deserve—reach out now to take your next step toward safety and rebuilding.
Frequently Asked Questions
What should I do first after a disaster?
Begin by evaluating your immediate environment for hazards such as structural damage, gas leaks, or electrical issues. Prioritize your safety by moving away from any dangers and listening for sounds that indicate instability.
How can I identify potential hazards in my surroundings after a disaster?
Systematically inspect your environment for obvious risks, including broken glass, unstable structures, and signs of gas leaks. Pay attention to your senses and create distance from identified dangers to ensure your safety.
What should be included in my emergency kit?
Your emergency kit should contain at least one gallon of water per person per day for three days, non-perishable food, a first aid kit, emergency tools, a battery-powered or hand-crank radio, and copies of important documents in a waterproof container.
How can I ensure effective communication with my family during a disaster?
Establish a designated point person outside the disaster zone for communication, create a multi-layered plan that includes text messages and backup channels, and conduct regular family drills to ensure everyone understands the protocol.
Recommended
- How to Rebuild Safely: Essential Steps for Disaster Recovery 2025 – Disaster Victim Services | Helping You Recover After Disaster
- Essential Steps After Sudden Displacement: 2025 Guide – Disaster Victim Services | Helping You Recover After Disaster
- Essential Steps After Home Loss: 2025 Guide for Recovery – Disaster Victim Services | Helping You Recover After Disaster
- Disaster Safety Checklist 2025: Essential Steps for Every Family and Organization – Disaster Victim Services | Helping You Recover After Disaster