

Did you know that over 700,000 people in the United States sought emergency shelters last year? When disaster strikes, knowing how to secure safe and suitable shelter for yourself and your loved ones can be a lifeline. Navigating the steps from assessing your needs to finalizing your placement makes the difference between stress and stability. This guide walks through practical actions that can help you find emergency housing quickly and with confidence.
Table of Contents
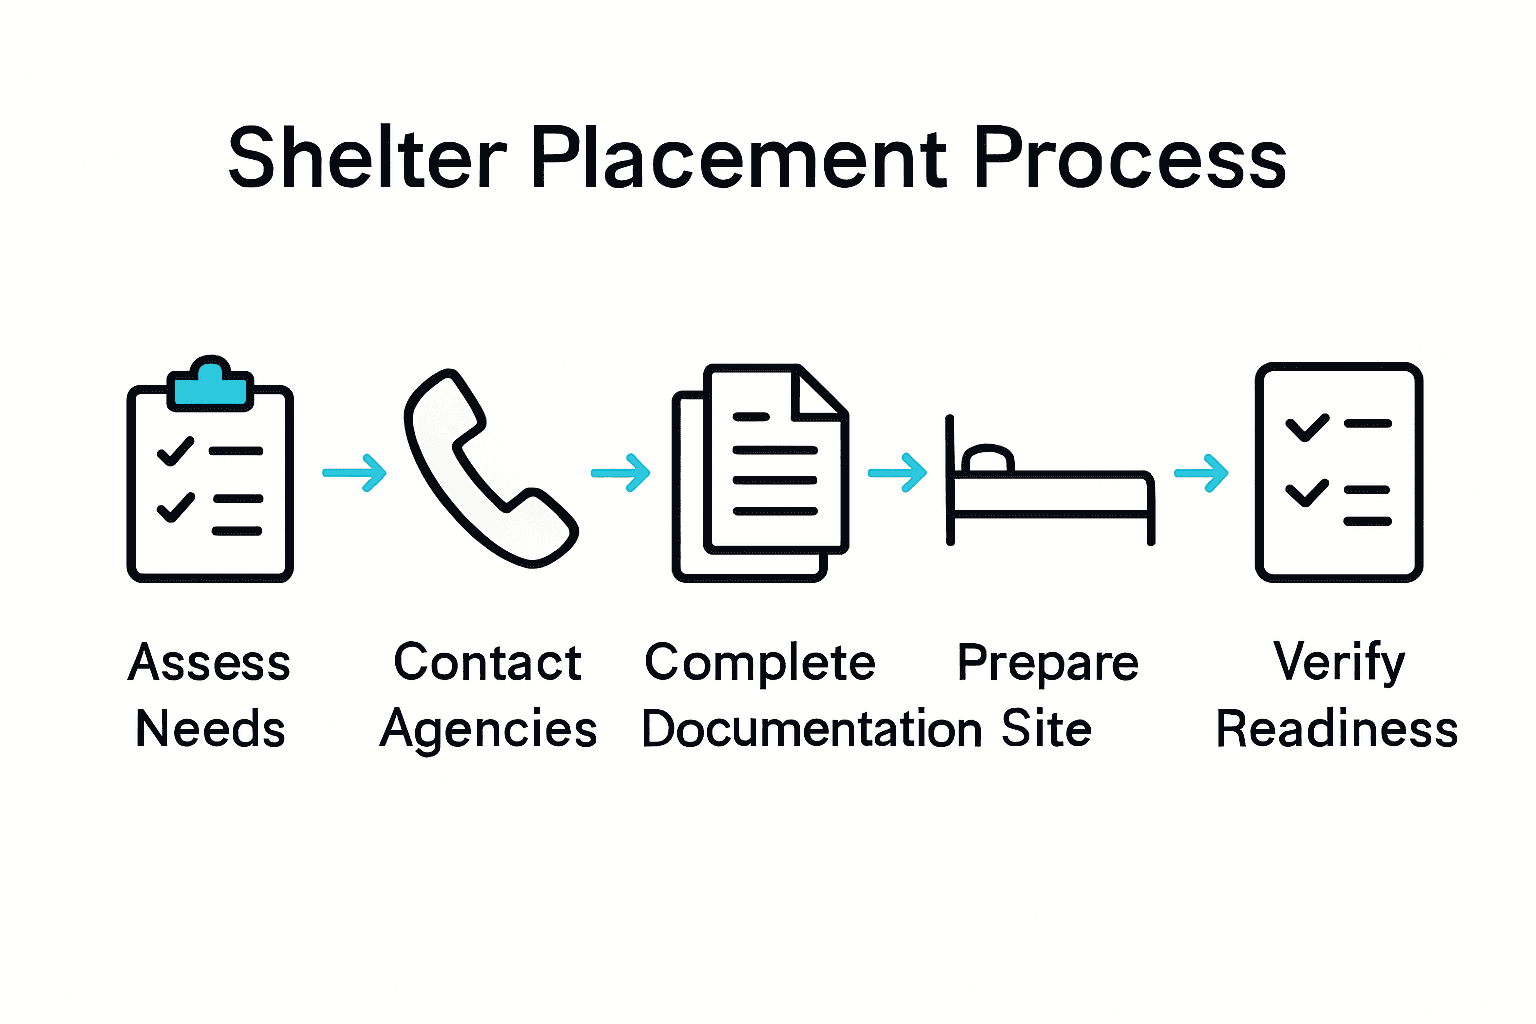
- Step 1: Assess Immediate Shelter Needs And Priorities
- Step 2: Coordinate With Agencies And Determine Suitable Options
- Step 3: Secure Approvals And Complete Required Documentation
- Step 4: Prepare Placement Site And Arrange Essential Services
- Step 5: Verify Shelter Readiness And Confirm Occupancy
Quick Summary
| Key Point | Explanation |
|---|---|
| 1. Assess emergency shelter needs promptly | Quickly evaluate your specific situation, including family size and accessibility needs, to identify the right shelter options. |
| 2. Coordinate with multiple agencies | Contact various emergency response agencies simultaneously to maximize your chances of finding suitable housing. |
| 3. Prepare essential documentation | Gather all required paperwork, such as ID and proof of displacement, to expedite the approval process for shelter. |
| 4. Ensure shelter accessibility and services | Evaluate the shelter for accessibility features and essential services like meals and medical support to enhance comfort. |
| 5. Verify shelter readiness before occupancy | Confirm the shelter meets all necessary requirements, including safety standards and service readiness, before moving in. |
Step 1: Assess Immediate Shelter Needs and Priorities
In this critical first step, you will systematically evaluate your immediate emergency shelter requirements and establish priorities that ensure your safety and basic needs are met. Understanding how to quickly and effectively assess shelter needs can make a significant difference in your disaster recovery journey.
Begin by conducting a rapid personal assessment of your current situation. This involves understanding your specific circumstances, such as family size, medical requirements, accessibility needs, and any unique vulnerabilities. According to the ADA Checklist for Emergency Shelters, key considerations include evaluating physical accessibility, potential service area requirements, and individual accommodation needs.
Next, prioritize your immediate shelter criteria. Look for shelters that can accommodate your entire group safely, with special attention to:
Here’s a summary of key shelter assessment criteria and why each is important:
| Assessment Criteria | Why It Matters | Example Consideration |
|---|---|---|
| Medical Support Availability | Ensures health needs are managed | Onsite nurse Medication storage |
| Age Appropriate Accommodations | Matches needs for all ages | Cribs for infants Quiet areas |
| Disability Access | Guarantees accessibility | Wheelchair ramps Accessible restrooms |
| Proximity to Services | Facilitates daily essentials | Near pharmacy Close to transit |
| Safety & Security | Maintains personal safety | 24/7 staff Locked entry points |
- Medical support availability
- Age appropriate accommodations
- Disability access requirements
- Proximity to essential services
- Safety and security features
As recommended by NYC’s Department of Homeless Services, aim to complete your initial intake and screening within 48 hours of displacement.
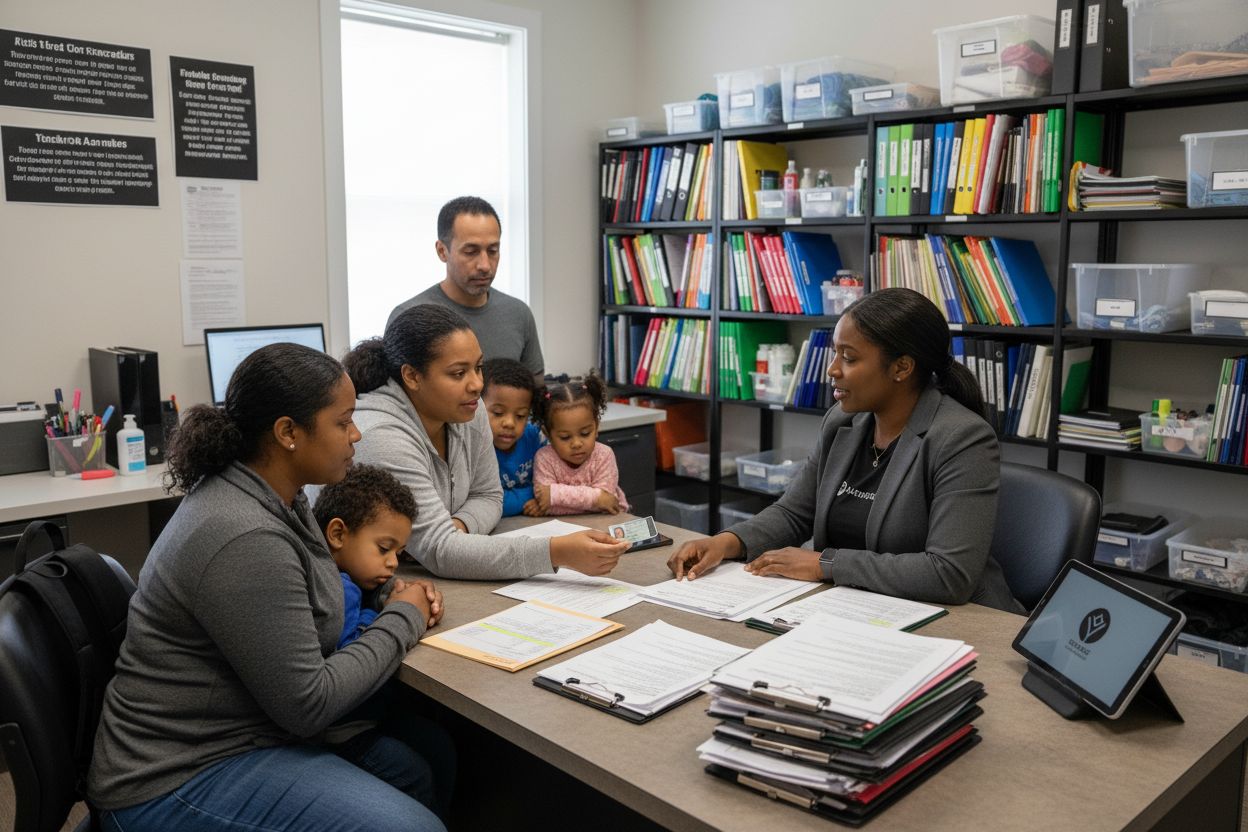 During this process, be prepared to provide demographic information and discuss any specific health or support needs that might impact your shelter placement.
Pro Tip: Always carry critical documentation like identification, medical records, and insurance information to streamline your shelter placement process.
By methodically assessing your needs and being prepared with accurate information, you increase your chances of securing appropriate emergency housing quickly and efficiently. Your next step will involve directly engaging with local emergency response teams to initiate the shelter placement process.
For more detailed guidance on navigating emergency housing options, check out our guide on safe housing placement steps.
Step 2: Coordinate with Agencies and Determine Suitable Options
This step focuses on systematically connecting with emergency response agencies to identify and secure appropriate shelter options for your specific situation. Effective coordination can significantly streamline your path to finding safe temporary housing.
Begin by reaching out to multiple agencies simultaneously. According to USA.gov, you have several coordinated resources available. Start with FEMA shelters accessible through their mobile app, website, or text services. Additionally, contact the local Red Cross and dial 211 for comprehensive referral services that can help match your specific needs.
Your coordination strategy should include:
- Contacting multiple agencies
- Describing your exact housing requirements
- Providing precise demographic information
- Requesting detailed shelter option breakdowns
As demonstrated by the Office of Refugee Resettlement (ORR) emergency coordination model, agencies often collaborate to supplement shelter capacity. This means you might have multiple potential housing solutions depending on your circumstances.
Pro Tip: Always have identification documents and medical information readily available when discussing shelter options to expedite the placement process.
Remember that different agencies offer varied shelter types. Some might provide hotel stays through Transitional Sheltering Assistance, while others offer traditional emergency shelter locations. Staying flexible and maintaining open communication increases your chances of finding suitable accommodation.
For more comprehensive guidance on navigating housing assistance, explore our housing placement workflow guide.
Step 3: Secure Approvals and Complete Required Documentation
This critical step involves navigating the complex process of obtaining official shelter approvals and preparing the necessary documentation to secure your temporary housing. Your goal is to efficiently compile and submit all required paperwork to expedite your placement.
According to guidance from Mass.gov, you will need to prepare specific documentation that demonstrates your eligibility and housing requirements. Start by gathering all personal identification documents, proof of displacement, and any supporting materials that validate your current housing emergency.
Your documentation package should typically include:
- Government issued photo identification
- Proof of income
- Displacement verification documents
- Medical records or special needs documentation
- Contact information for emergency references
As illustrated by the Missouri Department of Social Services placement protocols, most agencies follow a structured review process. A screening team will carefully evaluate your referral, which means presenting clear, organized, and comprehensive documentation is essential for approval.
Pro Tip: Create both physical and digital copies of all important documents to prevent potential loss during your displacement.
Pay close attention to specific requirements for extensions. As the Missouri DSS Manual notes, written approval is typically required for stays extending beyond 30 days. Some agencies might require additional hardship documentation or formal lease bridge applications.
Remember that each agency may have slightly different documentation requirements. Maintain open communication and be prepared to provide additional information promptly.
For additional guidance on document replacement after a disaster, check out our guide on replacing important documents.
Step 4: Prepare Placement Site and Arrange Essential Services
This critical step focuses on transforming your temporary shelter into a functional living space that meets your immediate needs and ensures your comfort and safety. Your goal is to quickly establish a supportive environment that can help you transition through this challenging period.
According to the ADA Checklist for Emergency Shelters, your first priority is evaluating the site for accessibility and functionality. This means carefully examining parking areas, entry routes, sleeping spaces, and service zones to ensure they accommodate your specific requirements.
Essential services you should confirm and arrange include:
- Meal provisions
- Basic hygiene facilities
- Communication access
- Medical support availability
- Personal safety measures
As noted by USA.gov, many emergency shelter options like FEMA shelters and Red Cross facilities already provide integrated support services. These typically include lodging, meals, and transitional assistance designed to help you stabilize quickly.
Pro Tip: Request a comprehensive walkthrough of the shelter facilities to understand exactly what services and amenities are available.
Pay special attention to accessibility considerations. If you or a family member has specific mobility or medical needs, discuss modifications or alternative accommodations with site coordinators immediately.
Remember that each shelter environment is unique. Remain flexible and communicate openly about your specific requirements to ensure the best possible placement.
For additional guidance on managing temporary relocation, explore our temporary relocation checklist.
Step 5: Verify Shelter Readiness and Confirm Occupancy
This critical step involves thoroughly confirming that your assigned shelter meets all necessary requirements and is fully prepared to accommodate you and your family. Your goal is to ensure a safe and suitable living environment before finalizing your placement.
According to the NYC Department of Homeless Services audit, shelter readiness involves a multi step verification process. A caseworker will first recommend your placement, followed by a detailed confirmation from a case manager to guarantee appropriate matching.
Key verification steps include:
- Confirming physical space availability
- Verifying facility safety standards
- Checking accommodation compatibility
- Reviewing support service readiness
- Ensuring all documentation is complete
As explained by Mass.gov, some agencies may place you directly into shelter or add you to a contact list. This means you might need to be patient and maintain open communication about your placement timeline.
Pro Tip: Always request a written confirmation of your shelter assignment and keep copies of all related documentation.
During your verification process, ask specific questions about facility amenities, support services, and any potential limitations. Understanding these details upfront can help prevent unexpected challenges during your stay.
Remember that shelter readiness is a collaborative process. Stay proactive and communicate clearly with your assigned case manager to ensure a smooth transition.
For more insights into understanding shelter occupancy standards, explore our guide on occupancy standards explained simply.
Find Fast, Reliable Help with Shelter Placement Through Expert Support
Facing the challenge of quickly securing safe emergency housing can be overwhelming. This guide highlights the crucial steps like assessing shelter needs, coordinating with agencies, and managing documentation to help you move forward with confidence.
 If you are navigating complex requirements such as medical support availability, accessibility needs, or safety verification, you do not have to manage it alone.
At DisasterVictimServices.com, we specialize in connecting disaster victims with immediate shelter solutions and guiding you through every stage of placement. Our dedicated team works closely with government agencies, insurance providers, and first responders to make the process smoother so you can focus on recovery. Discover more about how we help at our Uncategorized resources page and learn about ongoing developments designed to improve emergency response at Developing – Disaster Victim Services.
Do not wait to secure the support you need. Visit DisasterVictimServices.com now and take the next step toward fast relief and a safer tomorrow.
Frequently Asked Questions
How do I assess my immediate shelter needs after a disaster?
Begin by evaluating your family’s specific circumstances, such as medical requirements and accessibility needs. Create a list of your top priorities to ensure the shelter meets all essential criteria, such as medical support and safety features.
What should I include in my documentation for shelter placement?
Prepare a comprehensive documentation package that typically includes government-issued ID, proof of income, and verification of your displacement. Organize these documents clearly to expedite your review process with shelter agencies.
How can I coordinate with agencies to find the right shelter?
Reach out to multiple emergency response agencies at the same time. Clearly describe your specific housing requirements and provide exact demographic information to identify suitable shelter options quickly.
What essential services should I arrange at my temporary shelter?
Confirm that your shelter provides basic services such as meal provisions and hygiene facilities. Request information about additional support, like medical availability, to ensure your immediate needs are met.
What steps should I take to verify my shelter’s readiness before moving in?
Check that the shelter meets safety standards and is equipped with the necessary amenities for your family’s needs. Ask for written confirmation of your placement and the details of your accommodations to avoid surprises.
How do I ensure that my shelter placement process is efficient?
Be proactive by gathering all required documentation and maintaining open communication with your assigned case manager. This approach can significantly reduce the time needed to finalize your shelter placement.
Recommended
- Understanding Disaster Shelter Selection Guide: Key Insights – Disaster Victim Services | Helping You Recover After Disaster
- 7 Types of Emergency Shelter You Need to Know – Disaster Victim Services | Helping You Recover After Disaster
- Safe Housing Placement Steps for Disaster Response 2025 – Disaster Victim Services | Helping You Recover After Disaster
- Safe Housing Placement Steps for Disaster Response 2025 – Disaster Victim Services | Helping You Recover After Disaster