

Most American families are surprised to learn that less than half have all the documentation needed to recover smoothly after a disaster. When emergencies strike, missing records can delay relief and insurance payouts for weeks. This guide breaks down the simple strategies and essential supplies every American should have on hand, making it easier to safeguard your home, claim your losses, and rebuild with confidence.
Table of Contents
- Step 1: Gather Essential Supplies for Documentation
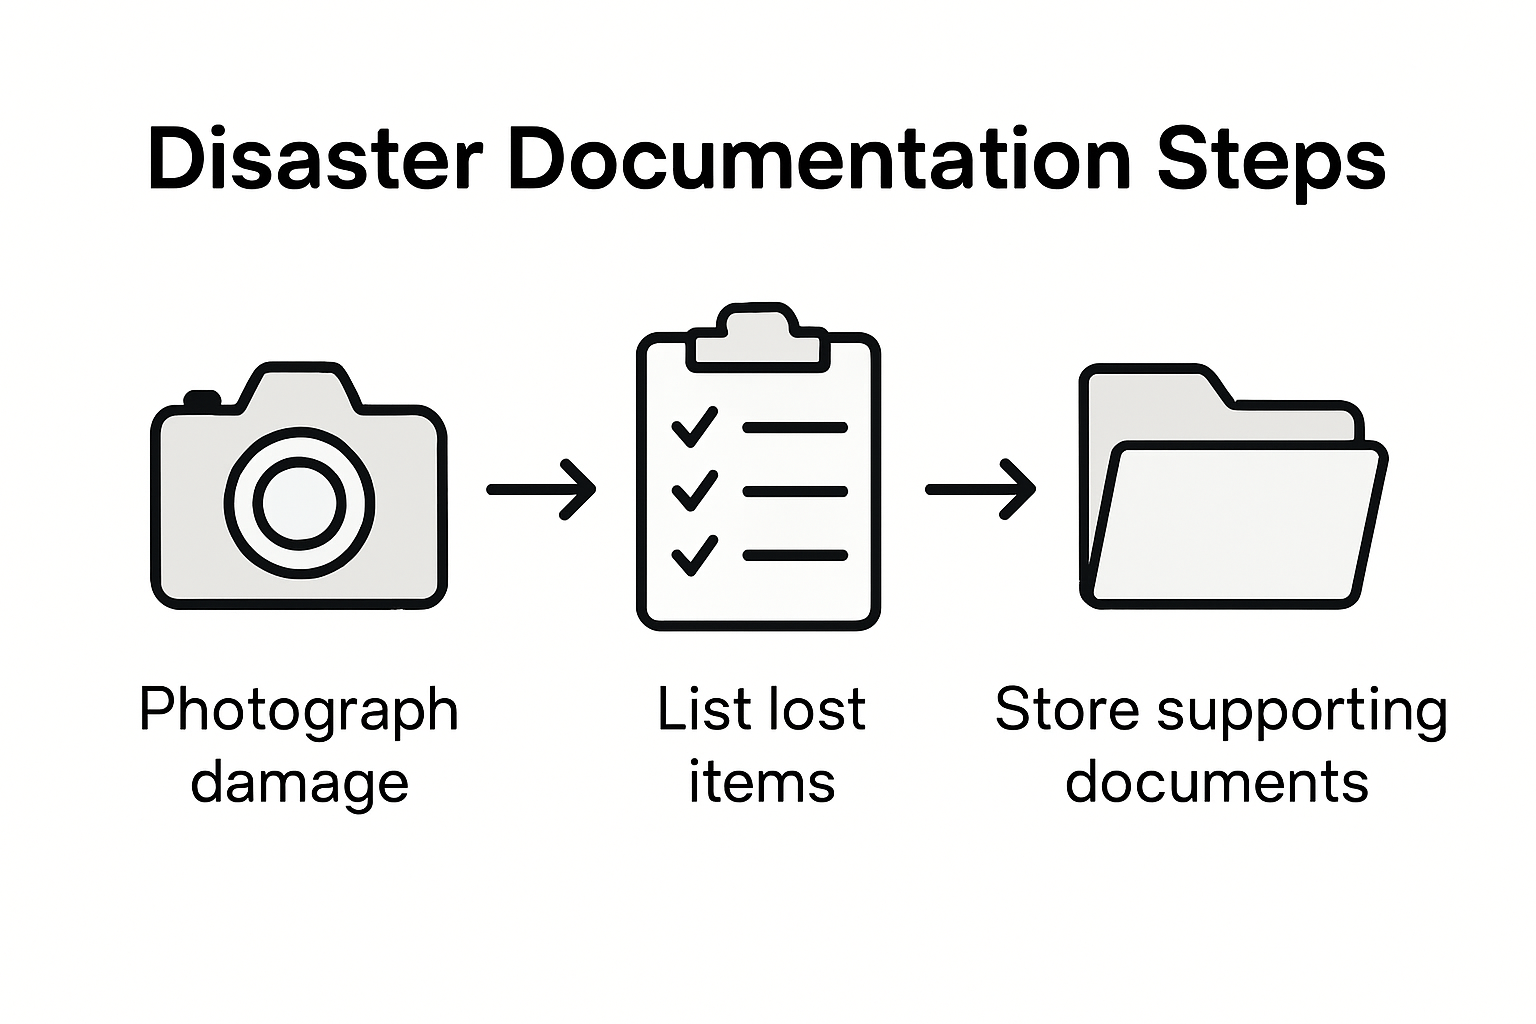
- Step 2: Capture Detailed Photos and Videos of Damage
- Step 3: List and Describe Damaged or Lost Items
- Step 4: Collect Supporting Documents and Proof of Ownership
- Step 5: Review and Organize Your Documentation
Quick Summary
| Key Insight | Explanation |
|---|---|
| 1. Assemble a documentation kit | Gather a digital camera, notebooks, storage containers, and a portable filing system to organize critical evidence. |
| 2. Capture thorough visual records | Take wide and close-up photographs of damage, using a measuring tape for context, and document the details of each image. |
| 3. Create a detailed inventory | Log damaged or lost items with purchase dates, values, and descriptions to support your insurance claims effectively. |
| 4. Collect proof of ownership | Gather legal documents, receipts, and alternative evidence to establish ownership and property value before the disaster. |
| 5. Organize documentation systematically | Review and categorize all documentation for clarity, ensuring easy access for insurance adjusters and claim processors. |
Step 1: Gather Essential Supplies for Documentation
When disaster strikes, having the right documentation supplies can mean the difference between smooth recovery and frustrating delays. Your mission is to quickly assemble a comprehensive documentation kit that will help you capture critical evidence and support your insurance and recovery claims.
Start by collecting key tools recommended by disaster recovery experts at FEMA. You will need a high-quality digital camera or smartphone with excellent photo resolution, multiple notebooks or journals for detailed written documentation, waterproof and fireproof document storage containers, and a sturdy folder or portable file system to organize your materials. Digital backups are equally important pick a cloud storage service or external hard drive to store digital copies of all photographs and documents.
Photographic evidence is your strongest ally in disaster documentation. Capture clear images of all damaged property from multiple angles, ensuring you include wide shots that show overall damage and close-up images that reveal specific details. Accompany these images with written descriptions noting the date, specific damage characteristics, and estimated replacement costs. Consider using a measuring tape in your photographs to provide scale and additional context for insurance adjusters.
Pro tip: Create a digital backup of your documentation immediately after taking photographs. Upload images to a secure cloud storage service and email copies to yourself as an additional precaution against potential further loss.
Here’s a summary of key disaster documentation tools and their primary benefits:
| Tool or Supply | Main Benefit | Extra Tip |
|---|---|---|
| Digital camera or smartphone | Captures high-resolution evidence | Use date stamps for better tracking |
| Waterproof/fireproof container | Protects physical documents from hazards | Store in an easily accessible location |
| Cloud storage or hard drive | Provides secure digital backup | Set up automatic uploads if possible |
| Measuring tape | Adds scale/context to damage images | Include in photos for accurate estimates |
| Organized file/folder system | Keeps documentation sorted and accessible | Color code sections for quick retrieval |
Step 2: Capture Detailed Photos and Videos of Damage
Documenting disaster damage thoroughly is a critical step that can significantly impact your recovery process and insurance claims. Your goal is to create a comprehensive visual record that accurately captures the full extent of property destruction.
Following guidelines from tax and insurance experts, begin by systematically photographing and videoing every damaged area. Use a high-resolution camera or smartphone and capture wide angle shots that show entire rooms or exterior views, then follow up with detailed close-up images that reveal specific damage. Ensure your documentation includes multiple perspectives of each damaged area. For each photo or video segment, include a reference object like a measuring tape to provide scale and context. Zoom in on critical damage points such as structural cracks, water damage, burned areas, or destroyed personal property.
While documenting, maintain a methodical approach. Start from one corner of a room or property and work your way systematically through each space. Photograph items from multiple angles and include serial numbers on electronics or valuable items. Capture images of damaged documents, personal belongings, furniture, and structural elements. Remember to include timestamps on your photos and videos and consider narrating key details as you record to provide additional context for insurance adjusters and claim processors.
Pro tip: Create multiple backup copies of your damage documentation. Upload images to a secure cloud storage service and email copies to yourself or a trusted family member to ensure you have redundant evidence in case of further property loss.
Step 3: List and Describe Damaged or Lost Items
Creating a meticulous inventory of damaged or lost possessions is a crucial step in disaster recovery that can significantly impact your insurance claims and potential tax deductions. Your comprehensive documentation will serve as powerful evidence when seeking compensation or assistance.
Following guidelines from tax and emergency management experts, start by creating a detailed spreadsheet or notebook to systematically record every damaged item. Include critical information for each item such as its original purchase date, estimated original cost, current market value, and replacement cost. Take special care to include serial numbers for electronics, unique identifiers for valuable items, and specific descriptions that clearly communicate the item’s condition before and after the disaster. Organize your list room by room to ensure you do not miss any belongings and provide a logical structure to your documentation.

For items that are completely destroyed, gather any available evidence such as previous photographs, receipts, credit card statements, or appraisals that can help substantiate their value. If possible, include brand names, models, and specific details that can help insurance adjusters accurately assess your losses. Consider creating digital and physical copies of your inventory and storing them in separate secure locations. Categorize items by type electronics, furniture, clothing, personal items and include estimated replacement costs for each category to provide a comprehensive view of your total losses.
Pro tip: Photograph your completed inventory list and store digital copies in multiple secure locations to ensure you have backup documentation in case of further loss or damage.
Step 4: Collect Supporting Documents and Proof of Ownership
Documenting your ownership and substantiating the value of lost property is a critical step in recovering from a disaster. Your goal is to compile a comprehensive collection of evidence that proves what you owned and its worth before the catastrophic event.
Disaster assistance guidelines from federal agencies recommend gathering multiple types of supporting documentation. Start by collecting legal ownership documents like property deeds, mortgage statements, property tax receipts, and insurance policy records. For personal property, compile purchase receipts, credit card statements, bank records, and appraisals that demonstrate ownership and original value. Digital records are particularly valuable if physical documents were destroyed. Scan or photograph these documents and store them in multiple secure locations including cloud storage, external hard drives, and with trusted family members or your attorney.
Organize your documentation systematically by category property records, vehicle titles, personal property receipts, and financial statements. Include serial numbers for valuable electronics, original purchase dates, and estimated current replacement costs. If you lack original receipts, gather alternative evidence such as credit card statements showing purchases, email confirmations, warranty information, or photographic proof of ownership taken before the disaster. Consider creating a detailed spreadsheet that cross references physical items with their corresponding documentation to provide a clear and comprehensive record for insurance claims and potential tax deductions.
Pro tip: Create encrypted digital backups of all documentation and store copies in at least three different secure locations to ensure you have redundant proof of ownership.
Step 5: Review and Organize Your Documentation
Reviewing and organizing your disaster documentation is a critical final step that transforms your scattered evidence into a powerful recovery toolkit. Your goal is to create a comprehensive and easily navigable record that insurance adjusters and government agencies can quickly understand.
Using comprehensive guidelines from federal disaster assistance programs, develop a systematic approach to document review. Create a master index that categorizes your documentation by type property records, personal property inventories, insurance policies, damage photographs, repair estimates, and financial records. Color code or use digital tags to differentiate between original documents, copies, and digital scans. Arrange documents chronologically within each category and include a summary sheet that provides an overview of your total losses, potential reimbursements, and critical contact information for insurance providers and government agencies.
Carefully cross reference your documentation to eliminate redundancies and identify any missing information. Verify that each damaged item has corresponding photographic evidence, original purchase documentation, or a reasonable estimated value. Include notes explaining any gaps in documentation and be prepared to provide additional context. Consider creating both digital and physical copies of your complete documentation package. Store physical copies in a waterproof and fireproof container and maintain encrypted digital backups in multiple secure locations to ensure your evidence remains safe and accessible.
This table compares physical and digital documentation storage strategies:
| Storage Type | Short-Term Reliability | Long-Term Security | How to Improve |
|---|---|---|---|
| Physical Copies | Vulnerable to loss or damage | Risk of destruction in disasters | Use fireproof, waterproof containers |
| Digital Backups | Quickly accessible from anywhere | Safer against local disasters | Encrypt files and use multiple backups |
Pro tip: Create a digital folder with a standardized naming convention for each document that includes the date, document type, and a brief description to make future retrieval quick and simple.
Take Control of Your Disaster Recovery Journey Today
Documenting disaster losses thoroughly is crucial to speeding up your recovery and ensuring your insurance claims receive the attention they deserve. This process can feel overwhelming when you are already dealing with loss and uncertainty. Key challenges include capturing detailed damage evidence, organizing proof of ownership, and creating clear inventories—tasks that demand time and emotional strength.
At DisasterVictimServices.com, we understand these struggles and offer compassionate, expert support to help you move forward. Our team coordinates emergency housing solutions while working closely with insurance providers, government agencies, and first responders to simplify the recovery process. Gain peace of mind knowing your documentation efforts connect you to effective assistance and rapid relief.
Discover how our collaborative approach can complement your documentation efforts. Visit our Uncategorized category for insights and resources designed with your challenges in mind. Ready to get started with expert guidance tailored to disaster victims nationwide Visit DisasterVictimServices.com now and let us help you rebuild with confidence. To explore how project planning fits into your recovery, see our Project design category. Act now to turn detailed documentation into fast support and recovery.
Frequently Asked Questions
How can I effectively document disaster losses for my insurance claim?
To effectively document disaster losses for your insurance claim, gather essential supplies like a digital camera, notebooks, and storage containers. Take clear photographs and detailed notes of all damaged property, ensuring to capture pictures from multiple angles and include descriptions of the damage and estimated costs.
What types of evidence should I collect to support my disaster recovery claims?
Collect a variety of evidence, including detailed photographs of damage, inventory lists of lost items, and supporting documents like receipts and appraisals. Ensure each item is clearly described, and include serial numbers for electronics, as this will strengthen your case during the claims process.
How should I organize my disaster documentation for easy retrieval?
Organize your disaster documentation by creating a master index categorizing the materials you collected, such as property records and inventories. Use color coding or digital tags, and arrange documents chronologically to ensure they are easily accessible when needed for your insurance adjuster.
What is the best way to back up my disaster documentation?
The best way to back up your disaster documentation is to create encrypted digital copies and store them in multiple secure locations, such as cloud storage and an external hard drive. Ensure that you have at least three backups to safeguard against any potential future losses.
How can I ensure that my photograph documentation is effective?
To ensure your photographic documentation is effective, take wide-angle shots to capture overall damage as well as close-ups to highlight specific details. Include a measuring tape for scale and date stamps to establish timelines, making it easier for insurance adjusters to assess your losses.
What should I do if I don’t have receipts for damaged items?
If you don’t have receipts for damaged items, gather alternative evidence like credit card statements, photographs of the items prior to the disaster, and warranty information. This will help substantiate ownership and value, even in the absence of original purchase documents.
Recommended
- How to Replace Documents After a Disaster: 2025 Guide – Disaster Victim Services | Helping You Recover After Disaster
- Claim Documentation Tips for Effective Disaster Recovery – Disaster Victim Services | Helping You Recover After Disaster
- How to Access Support: Guide for Disaster Recovery 2025 – Disaster Victim Services | Helping You Recover After Disaster
- Essential Steps for Disaster Documentation in 2025 – Disaster Victim Services | Helping You Recover After Disaster